Twelve states are enjoying a sales tax holiday. The great news is that LOTS of great Stampin' Up! products will be TAX FREE on your state's tax free sale dates. I've included an Excel spreadsheet which outlines what and when. Click on the text below.
Download Sales Tax Holiday Chart 2015 PDF Sheet1
Most people can't read a ruler or measure without struggling. If you're one of them, have no fear!
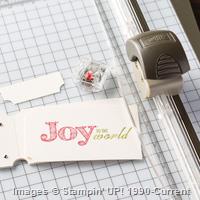
I'm here to help you with a quick and EASY trick to cutting your cardstock layers when you create a handmade card.
Scroll down past the video and I have listed cutting dimensions for those that can easily measure. Practice makes perfect and the more you cut, the more you'll learn. If you're new to card making, practice on scratch paper first.
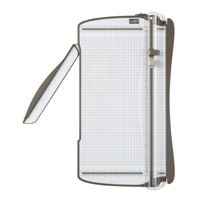
If you're looking for a great paper trimmer at an affordable price, look no further! Stampin' Up's Trimmer is fabulous and has options for a rotary bade. The Trimmer includes a non-skid feet, a handy dandy storage area on the back, cutting and scoring are included and the extended cutting arm is a dream come true – it doesn't noble! The healing strips and the blades are refillable, too.

Shop in my online store and get free REWARDS!

Cutting Dimensions
- Most of the cards I make are cut from a 8 1/2" x11" sheet of cardstock, therefore the instructions I'm providing coincide with that size.
- One sheet of 8 1/2" x 11" sheet of cardstock will create two cards. Cut at the 1/2 way point which would be 4 1/4" or 5 1/2". Either way, you will end up with two pieces of cardstock to create two cards.
- First layer: cut cardstock 4" x 5 1/4"
- Second layer: cut cardstock: 3 3/4" x 5"
- Third+ layers: Cut 1/4" off from two OPPOSITE sides of your cardstock