It's hard to believe that we only have 2 more days left in 2016. It's been an amazing year for me and my family. We continue to be blessed and hope we are blessing to others. We are truly grateful.
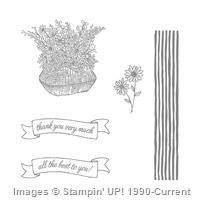
The card using the Basket For You stamp set. This is an exclusive host only item but available for free with host rewards on orders of $150+. Host rewards allow YOU to select product you'd like with free host dollars.

Supplies:
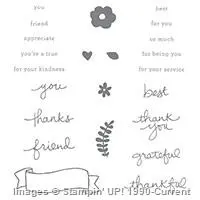
- Stamp Sets – Basket for you- Hostess (141812); Endless Thanks (138798)
- Cardstock – Crumb Cake (120953); Pumpkin Pie (105117); Whisper White (100730)
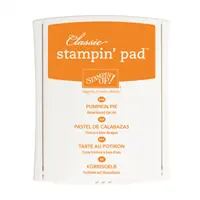
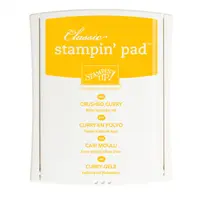
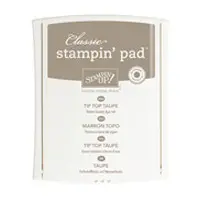
- Stamp Pads – Basic Black Archival (140931); Pumpkin Pie (126945); Real Red (126949); Crushed Curry (131173); Garden Green (126973); Tip Top Taupe (138325)
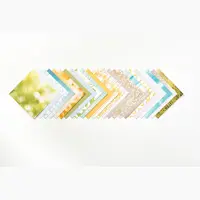
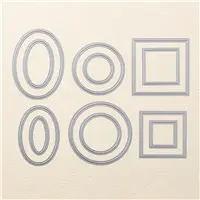
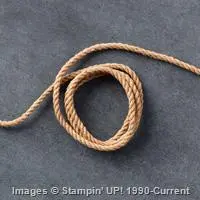
- Misc. – Serene Scenery Designer Paper Stack (141642); Big Shot (143263), Magnetic Platform (130658), Stitched Shapes Framelits (145372); Kraft Rope Trim (141996); Blender Pens (102845); Gold Wink of Stella (141898); Dimensionals (104430)
Measurements:
- Crumb Cake cardstock (base) – 4 ¼” x 11”, folded in half
- Pumpkin Pie cardstock- 4” x 4”
- Whisper White cardstock- 3” x 3”
- Whisper White cardstock – scraps
- Designer Paper – 4 ¼” x 2”
- Rope trim – 4”
Instructions:
- Adhere the designer paper strip to the center of the card base
- Die cut 4 squares from the Stitched Shapes Framelits using Pumpkin Pie cardstock. (I used the second smallest one.)
- Adhere the Pumpkin Pie cardstock squares to the base of the card using Dimensionals, leaving a little space between each square.
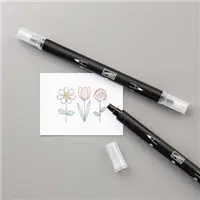
- Stamp the basket image using black in on the white cardstock 3”x3” square. Squeeze the closed ink pad to transfer ink into the lid of the ink pad. Open the ink pad and pick up color from the inside lid using the blender pen. Color in the image using the inks noted in the supply list.
- Die cut the basket image using the largest Stitched square framelit. Adhere it to the top of the Pumpkin Pie cardstock squares using Dimensionals.
- Stamp the banner using black ink on the white cardstock scraps. Stamp the sentiment using Pumpkin Pie ink. Cut out the banner using your scissors.
- Separate the Kraft Rope Trim using 3-4 strands and create a messy circle. Secure the strands in place by putting Dimensionals on the backside of the banner and securing it over the top.
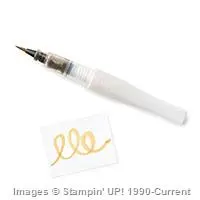
- Remove the cap from the Gold Wink of Stella. Place the tip of the brush inside the rim of the cap then quickly pull the brush out, pointing downward with a flicking motion. This will splatter the color onto your card. Repeat until you achieve your desired look. Let dry.
If you'd like to download this project, click on the image below.