When I was in high school I had a friend who owned a horse. The stable wasn't close to home but the ride there was beautiful and serene.
It's with this friend that I first learned to ride. I wasn't good. In fact, I learned only enough to hold the reins and stay in the saddle.

Good thing that carousel horses don't require training. This one I can ride!
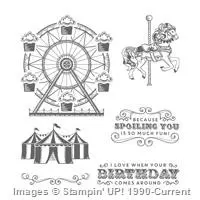
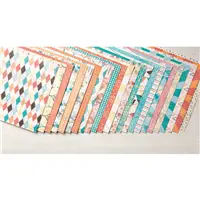
There's a new suite of products in the Occasions Catalog called "Cupcakes & Carousels". You can find this suite of products on pages 8-9. The designer paper is my favorite in the Occasions Catalog because it has a fresh vintage flair. The coordinating stamp set is both fun and versatile, called "Carousel Birthday".
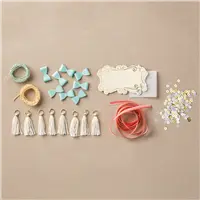
This suite of products includes a fun embellishment kit that include tassels, sequins, bows and more.
I'm listing the project sheet for today's card below if you're on a mobile device but I've also included a PDF tutorial. You can download it by clicking on the image below.
Enjoy the ride through the new Occasions Catalog!
Supplies:
- Stamp Sets: Carousel Birthday (142832)
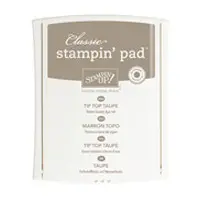
- Inks: Tip Top Taupe (138325)
- Paper: Very Vanilla (101650), Calypso Coral (122925), Cupcakes & Carousels Designer Paper Stack (142744)
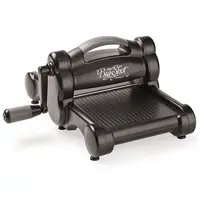
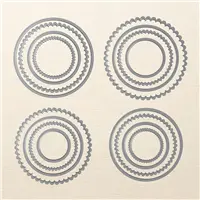
- Other: Cupcakes & Carousels Embellishment Kit (142767), Big Shot (143263), Magnetic Platform (130658), Layering Ovals Framelits (141705), Stampin’ Dimensionals (104430), Mini Glue Dots (103683)
Measurements:
- Very Vanilla (base): 4 ¼” x 11”, folded in half
- Very Vanilla (banner): 7/8” x 4”
- Very Vanilla cardstock: scraps
- Calypso Coral cardstock (layer): 4” x 5 ¼”
- Calypso Coral cardstock: scraps
- Designer Series Paper: 3 ¾” x 5”
- Ribbon: 6” & 8”
Instructions:
- Adhere the designer paper to the Calypso Coral cardstock layer.
- Wrap the 6” piece of ribbon around the layers, adhering the raw ends to the back using Glue Dots.
- Adhere the layered panels to the base.
- Stamp the carousel horse image using Tip Top Taupe ink onto a scrap of Very Vanilla cardstock. Die cut the image using the oval framelit that best fits your image.
- Die cut a scalloped oval using a scrap of Calypso Coral cardstock with the die that is one size larger than the vanilla oval. Adhere the two ovals together as shown. Adhere the layered ovals to the card base using Dimensionals.
- Stamp the greeting using Tip Top Taupe ink on the vanilla banner cardstock. Create a banner tip on the right side using your scissors. Slip the banner under the ribbon and adhere to the card base layers as shown.
- Use a Glue Dot to adhere a tassel from the embellishment kit to the ribbon as shown.
- Make a bow from the 8” piece of ribbon. Adhere to the top of the tassel using a Glue Dot.
- Adhere several sequins from the embellishment kit to the front of the card base using Glue Dots.






SUPERBEEEE
So glad you like it, Bernath! Enjoy the tutorial.
Love this card! Thanks for the instructions but one of your measurements is incorrect. The DSP needs to be cut at 3 3/4″ X 5″.
I’m so sorry Lisa….your measurements are correct! Just needed to clean my glasses!
No worries, Marion. I actually went back after your first comment and looked and didn’t see the typo but thank you. I’m human and make mistakes when typing so your feedback is important. Enjoy the tutorial!