Although today's tutorial project was designed for Valentine's Day it can easily be adapted to any occasion.
This would make a great 'missing you', thank you or get well card by simply changing the greeting.
I'm including the directions below for those of you on a mobile device. I have also included a PDF tutorial link if you'd like to save the tutorial.

Supplies:
- Stamp Set – Sealed with Love Bundle (144705)
- Cardstock – Whisper White (100730); Pink Pirouette (111351); Real Red (102482)
- Stamp Pads – Real Red (126949); Pink Pirouette126956)
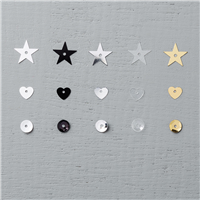
- Misc. Sending Love Designer Paper Stack (142773); Gold Foil Sheets (132622); Metallics Sequin Assortment (138390); Stitched Shapes Framelits (145372); Sponge Brayers (141714); Big Shot Machine (143263); Glue Dots (103683); Fine-Tip Glue (138309)
Measurements:
- Pink Pirouette cardstock (base): 5-1/2" x 8-1/2", folded in half
- Whisper White cardstock: scraps
- Real Red cardstock: scraps
- Gold Foil Sheets: scraps
- Designer Paper: scraps
Instructions:
- Die cut the Pink Pirouette cardstock base using the heart edgelit.
- Stamp the Valentine greeting in the lower right corner of the card base using Real Red.
- Die cut as follows:
- the envelope using designer paper
- the arrow using gold foil
- one heart using Real Red cardstock. Cut out the center
- one heart using Gold Foil
- the stitched circle using Whisper White scraps
- envelope insert using Whisper White scraps
- Adhere the Real Red and Gold Foil hearts to the back fo the white stitched circle.
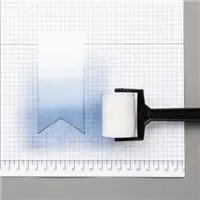
- Using the Sponge Brayer, roll it in the Pink Pirouette ink pad several times to coat. Roll the brayer over the inside envelope flap. Fold the envelope and secure to the front flap using a Glue Dot. Roll the Glue Dot smaller so that it will fit neatly.
- Cut the Gold Foil arrow in half. Adhere the two pieces to the back of the small envelope using Glue Dots.
- Adhere the envelope to the white stitched circle.
- Adhere the stitched circle/hearts to the card base.
- Add a small row of hearts to the white envelope insert using Real Red ink. Add to the envelope as shown.
- Add gold sequins to the card base as shown using Fine-Tip Glue.