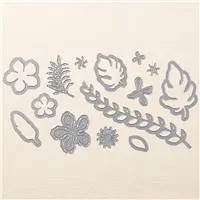
Today's tutorial includes two more fabulous products that are retiring. The "World of Thanks" background stamp creates a simple, yet stunning thank you card. Here it's coupled with the retiring Botanical Builder Framelits.
Remember, retiring accessories are only while supplies last so be sure you scoop up your favorites before they're gone. Products are selling out fast because many are marked down – some up to 50% off!
Stamp sets are available through May 22nd but after that they are only available while supplies last or through May 31st.
You can view the entire Retired List by clicking on the image below.
I've placed the tutorial below for those using a mobile device. If you prefer to download it for future inspiration, there's a download PDF version as well.
And, speaking of tutorials – I added two new tutorials to my Project PDF Tutorial library last night.
Take a look by clicking on the image below.
Supplies:
- Stamps – A World of Thanks (wood 139312, clear 139315)
- Cardstock– Whisper White (100730); Flirty Flamingo (141416)
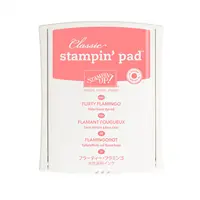
- Ink – Flirty Flamingo (141397)
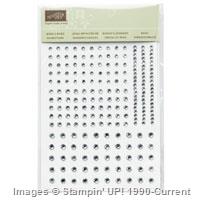
- Other – Botanical Builder Framelits (140625); Rhinestones (119246); Big Shot (143263); Glue Dots (103683)
Measurements:
- Whisper White (base): 5 ½” x 8 ½”, folded in half
- Flirty Flamingo (layer): 4” x 5 ¼” + scraps
- Whisper White (layer): 3 ¾” x 5” + scraps
Instructions:
- Stamp the background image on Whisper White layer using Flirty Flamingo ink. Adhere to the card base.
- Die cut 3 flowers using the Framelits and Flirty Flamingo scraps. Die cut t3 flower centers using Whisper White scraps.
- Adhere the flower centers to the flowers using Glue Dots. Add a rhinestone to the each flower center.
- Adhere the flowers to the card base using Glue Dots.


