It's Memorial Day weekend and for many of us that means a 3 day weekend. One of my favorite holiday weekend getaways is a day at the beach.
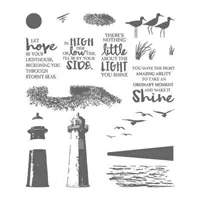
Today's tutorial uses the High Tide stamp set. This 2-step stamp set allows you to create a 3D look with ease.
I've included written instructions below for those of you using a mobile device. I also have a free PDF tutorial available for those that would like to download and save this project for a later day.
Don't forget to check out my Project PDF Tutorial Library for more project tutorials that feature complete card collections and fancy folds. Click HERE to view the library.
Have a fun, safe and relaxing holiday weekend!
Supplies:
Stamps: High Tide (143006)
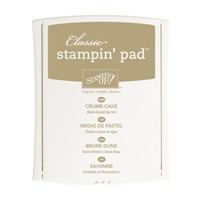
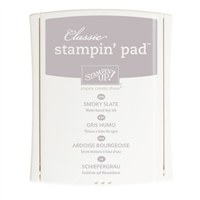
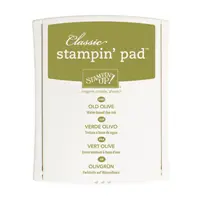
Inks: Crumb Cake (126975), Smoky Slate (131179), Old Olive (126953), Pacific Point (126951), Marina Mist (126962), Soft Sky (131181)
Paper: Marina Mist (119682), Whisper White (100730), Basic Gray (121044)
Other: Sponge Daubers (133773), Dimensionals (104430), Sponge Brayers (141714), Post-it Notes
Measurements:
- Marina Mist (base): 5 ½” x 8 ½”, folded in half
- Whisper White (layer): 3 3/4" X 5"
- Basic Gray (layer): 3 7/8" x 5 1/8"
Instructions:
- To create the front of your card. Stamp in the ink colors noted, in this order, on the white layer:
- Crumb Cake – stamp the sand image, twice randomly.
- Smoky Slate – stamp the lighthouse base, fitting it into the sand base area.
- Stamp the lighthouse image on a Post-it-Note, positioning as much of the image on the sticky edge as possible. Cut out the image directly on the stamped lines to create a “mask”.
- Cover the lighthouse in step (b) with the Post-It-Note “mask”. This will ensure that no ink from the next step will be on top of the lighthouse when finished.
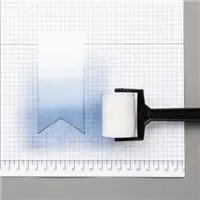
- Marina Mist – ink up the sponge brayer. Brayer lightly over the lighthouse down towards the sand to create the sky.
- Crumb Cake – stamp the sand image on a Post-it-Note, positioning as much of the image on the sticky edge as possible. Cut out the image directly on the stamped lines to create a “mask”.
- Cover the sand in step (f) with the Post-It-Note “mask”. This will ensure that no ink from the next step will be on top of the sand when finished.
- Soft Sky – stamp the water image.
- Marina Mist – use the sponge dauber to add additional Marina Mist ink to create depth to the water.
- Pacific Point – remove the masks from the lighthouse. Stamp the overlay lighthouse image over the initial image for a two-toned look.
- Smoky Slate – stamp the birds.
- Old Olive – stamp the grass image randomly, where desired.
- Adhere the stamped white layer to the Basic Gray layer. Adhere these layers to the card base using Dimensionals.
Shop in my online store and receive exclusive REWARDS!


