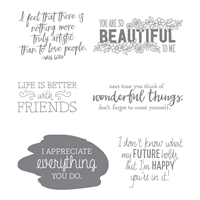
Simple can be so beautiful!
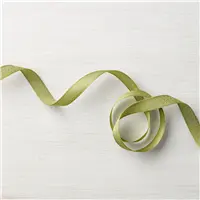
Create a unique border on your cards buy embossing just a section of your card. You can emboss the outside edge, top or bottom, depending on how the card is cut. The new Chevron Ribbon, perfectly placed below the greeting finishes off this clean and simple card for today's free tutorial.
I've included written instructions below for those of you using a mobile device. I also have a free PDF tutorial available for those that would like to download and save this project for a later day.
Don't forget to check out my Project PDF Tutorial Library for more project tutorials that feature complete card collections and fancy folds. Click HERE to view the library.
 All images © 2017 Stampin’ Up!®
Supplies:
- Stamps – Just Add Text (#143931 wood, #143934 clear)
- Paper – Thick Whisper White Cardstock #140272
- Ink –Basic Black Archival #140931
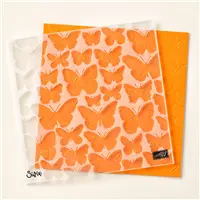
- Other – Old Olive 3/8" Mini Chevron Ribbon #144196, Big Shot #143263, Fluttering Textured Impressions Embossing Folder #139304, Watercolor Pencils #141709, Tear & Tape Adhesive #138995
Measurements:
- Thick Very Vanilla Cardstock – 4 ¼” x 11”, scored at 5 ½” and folded in half
- Ribbon – 13”
Instructions:
- Place the embossing folder on ¼ of the bottom of the card front and emboss using the Big Shot. TIP: Be careful not to allow the card base to shift as you emboss it. If it shifts slightly at the top, the ribbon will hide it.
- Stamp the greeting using black ink, about ¾” above the embossed area, allowing space for the ribbon.
- Color in the image using the Watercolor Pencils (Old Olive, Daffodil Delight and Pumpkin Pie).
- Place a small strip of Tear & Tape horizontally between the embossed area and the stamped greeting to hold the ribbon in place. Wrap the ribbon around the card and finish by tying a knot in the front as shown. Trim the ribbon ends if necessary