There are new masks (aka "stencils") in the annual catalog. They can be found on page 201. The Pattern Party Decorative Masks can be used with a sponge or dauber or over the newest accessory – Embossing Paste!
Embossing Paste is remarkably easy to use, fast drying (so fast be sure to wash off your mask/stencil right away!) and creates the most incredible texture! If you like mixed media, texture and accessories, this is a product you must have. One jar will make about 50 cards making it very economical too. The Embossing past is placed over the mask to create a textured background. You can view the quick video on how it works HERE.
You may be wondering, what if I want other patterns?
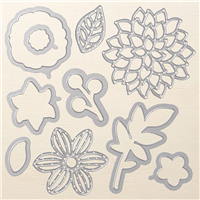
That's easily accomplished by making your own. Today's quick tip video will teach you how to create your own masks/stencils using the Stampin' Up! Window Sheets and your favorite die.
I've included a picture and cutting dimensions for my completed card below.
Stenciling and pasting just got lots more fun!

Cutting Dimensions
- Flirty Flamingo cardstock base is cut 5 1/2" x 8 1/2"
- Whisper White cardstock layer is cut 4" x 5 1/4"
- Gold Foil layer is cut 4 1/8" x 5 3/8"
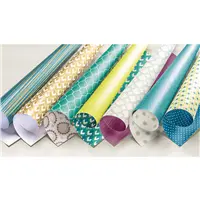
- Designer Paper is cut 4" x 2"
- Gold Glimmer Paper is cut 1/2" x 4"

Are you receiving my free e-newsletter? If not, you're missing out on an additional project tutorial that is not shared on my other social media platforms.
Click on the image below to sign up!

Your online order pays off with a great bundle of extras! Read about my online ordering REWARDS by clicking HERE.


Thank you for sharing this great idea Lisa! So many framelits available that would be great to use for masks.
You’re most welcome, Janice! It’s so much fun and very easy to do. Hope you’ll give it a try!
Great idea! Thanks so much for sharing!
Hi Bonnie! So glad you enjoyed this tip. Thanks for stopping by to watch and comment.