It's a double-header today!
In addition to my weekly tutorial (included below) I'm also including the recording from last night's "Spotlight with Lisa" Facebook Live event. I've also included pictures of the card I demonstrated and supplies in this post.
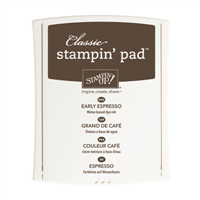
Sunday is the final day to order your July Studio Stamps in the Mail (SSITM). This month's edition includes the Coffee Cafe Bundle (stamp set and coordinating Framelits) and the Early Espresso ink pad, along with pre-cut supplies to make 8 cards. I include a video and PDF tutorial making it easy for you to stamp right along with me. Plus, all my SSITM receive Live with Lisa as a bonus!
Get all the details by clicking on the image below. Deadline to order is July 16th.  There's something amazing about walking to your mailbox and finding a hand stamped card. Don't overlook the impact your hand stamped creations can provide. Today's tutorial will provide step by step instructions for a simple "pick me up" card. Create one. Mail it. I promise, someone will be glad you did!
I've included written instructions below for those of you using a mobile device. I also have a free PDF tutorial available for those that would like to download and save this project for a later day.
Don't forget to check out my Project PDF Tutorial Library for more project tutorials that feature complete card collections and fancy folds. Click HERE to view the library.
 All images © 1990-2017 Stampin’ Up!®
Supplies:
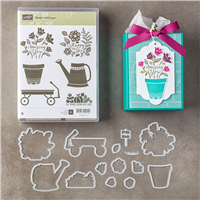
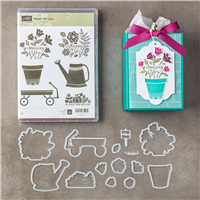
- Stamps – Grown with Love Bundle (145337 wood, 145338 clear)
- Paper – Whisper White (100730)
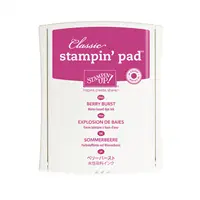
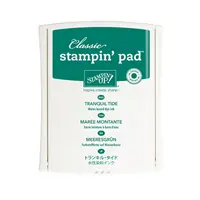
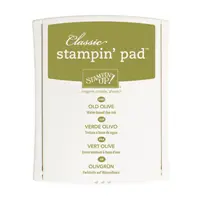
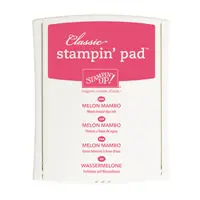
- Ink – Berry Burst (144083), Tranquil Tide (144085), Old Olive (126953), Melon Mambo (126948)
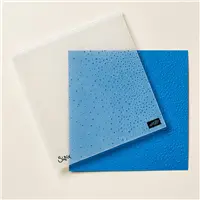
- Other – Softly Falling Textured Impressions Embossing Folder (139672), Big Shot Die-Cutting Machine (143263), Linen Thread (104199), Mini Glue Dots (103683), Stampin’ Dimensionals (104430)
Measurements:
- Whisper White (base): 4 1/4” x 11”, scored at 5 ½”
- Whisper White: scraps
- Linen Thread: 5 ½”
Instructions:
- Emboss the front of the card base using the Softly Falling embossing folder.
- Stamp the pot on white cardstock scrap using Tranquil Tide ink. Die cut using the coordinating framelit.
- Stamp the floral image on pieces of white cardstock scrap, once using Old Olive ink, once using Berry Burst ink and a third time using Melon Mambo ink. Thoroughly clean the image between changing colors. Die cut the Old Olive image using the coordinating framelit.
- Using the three coordinating individual flower dies, die cut three flowers from the Melon Mambo stamped image. Die cut two from the Berry Burst stamped images.
- Slightly overlap the pot onto the flower arrangement and adhere in place using Glue Dots.
- Using Glue Dots, adhere 5 of the flowers over the Old Olive images, alternating colors
- Adhere the potted flower to the lower right side of the card base using Dimensionals.
- Make a bow using the Linen Thread. Adhere the bow to the left side of the pot using a Glue Dot.
Place a $50 order and earn a $5 bonus coupon to use in August. There's no limit the number of coupons you can accumulate during the July promotion!








Love your cards with the Coffee set. Thanks for the video.
Hi June! Thank you. So glad you stopped by to watch.