Today is week 2 in my series on Embossing Paste. Did you miss week one?
- Click HERE to view the Embossing Paste 101 Quick Tip video
Color coordination is what Stampin' Up! is famous for. There's nothing more reassuring then creating a card, scrapbook layout or 3D project knowing you have coordinating ink, cardstock and accessories. Color coordination takes the guess work out of making your projects look professional.
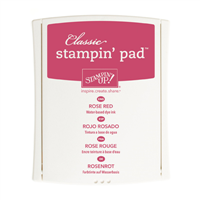
Today's quick tip video provides another color coordination tip – coloring the Embossing Paste. This new textured medium is easy to work with and you can have it any color you'd like. it's like coordination overload! My quick tip provides you with an easy way to use any ink pad to provide color to the paste versus an ink refill.
During this series, I'm not only demonstrating tips on how you can use the Embossing Paste but I am also providing a completed card sample. Don't forget to scroll down to see it, along with the supplies I've used.
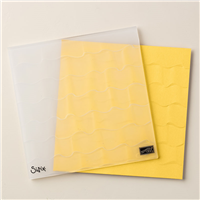
I used the Ruffled Dynamic Textured Embossing Folder for the Rose Red cardstock base cut 5 1/2" x 8 1/2" and folded in half.
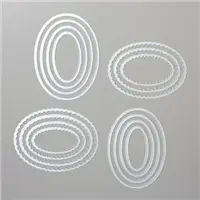
After creating the colored Embossing Paste background on Whisper White cardstock, I let it dry and then die cut the oval using the Big Shot and the Layering Ovals Framelits. 
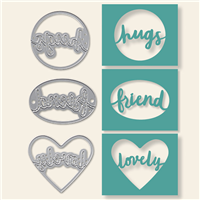
The Lovely Words Thinlits made the perfect overly to the background. I die cut it from Gold Foil Sheets then used an appropriate size Layering Oval Framelit to cut out the circumference. It is adhered to the textured oval using Mini Dimensionals that I cut in half.
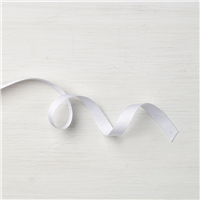
The Whisper White 3/8" Classic Weave Ribbon is beautiful and I used it here to make a double bow that wraps around the card.
I provide exclusive online ordering REWARDS. Get the details HERE. Product orders of $25 are included in my Live with Lisa event which include live demonstrations, a bundle of tutorials and product prize patrol. Orders of $50 receive an added product gift.









Lovely as always .
Hi Gaeyl! 😀 Thank you so much!