Background stamps are designed to cover a large area. Often times, though, it’s difficult to handle them because of their size. I have a quick tip video that will revolutionize the way you use these large stamps. You can watch it HERE.
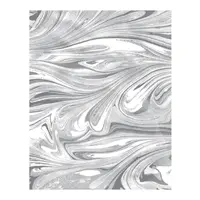
These same large images can be used in smaller sections to create a strong focal point, just like I did on today’s card.
I chose today’s card because I’ve been needing lots of hugs lately. I hope you’ve noticed my new blog layout. To say I’ve been in a ‘learning curve’ would be an understatment – but I’m getting there! If you see typos, misplaced pictures or funky lines, please give me grace as I work through the changes. And, don’t be afraid to leave me a comment if something doesn’t look right or a link doesn’t work. It takes a village, people. ((smile))
I’ve included written instructions below for those of you using a mobile device. I also have a free PDF tutorial available for those that would like to download and save this project for a later day.
Don’t forget to check out my Project PDF Tutorial Library for more project tutorials that feature complete card collections and fancy folds. Click HERE to view the library.


Supply List
- Marbled Clear-Mount Stamp Set – 144772
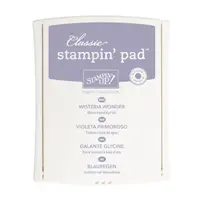
- Wisteria Wonder Classic Stampin’ Pad – 126985
- Berry Burst Classic Stampin’ Pad – 144083
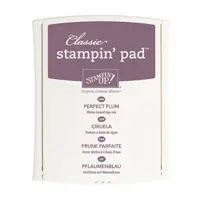
- Perfect Plum Classic Stampin’ Pad – 126963
- Whisper White 8-1/2″ X 11″ Cardstock – 100730
- Big Shot – 143263
- Magnetic Platform – 130658
- Precision Base Plate – 139684
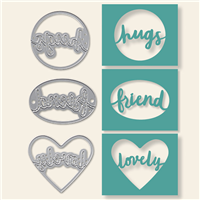
- Lovely Words Thinlits Dies – 143733
- Metallics Sequin Assortment – 144214
- Fine-Tip Glue Pen – 138309
- Sponge Daubers – 133773
- Mini Stampin’ Dimensionals – 144108
Measurements
- Whisper White (base) – 4 ¼” x 11”, scored at 5 ½” and folded in half
- Whisper White (layer) – 4” x 5 ¼”
- Whisper White (strip) – 1 ½” x 4”
- Whisper White – scrap to die cut
Directions
- Using three different sponge daubers to apply color to an area on the background stamp, large enough to cover the Whisper White strip. Use one dauber in Wisteria Wonder ink, another for Berry Burst ink and a third for Perfect Plum ink. Randomly rub color onto a portion of the background stamp. Avoid dabbing color on the stamp as this will result in a ‘dot’ image. Do your best not to mix one color on top of another color. Huff on the stamp to remoisten the ink and stamp on the Whisper White strip. I have a quick tip video HERE that will teach you an easy way to use these large background stamps.
- Adhere the Whisper White strip to the Whisper White layer. Adhere these layers to the card base using Dimensionals.
- Die cut the ‘hugs’ from the Lovely Words Thinlits using white cardstock scrap. Cut way the circle around the word using your scissors. Adhere the die cut greeting to the lower right corner of the white strip using Mini Dimensionals. You will need to cut the Mini Dimensionals in half. Position them in the thickest areas of the die so they will not show through the front.
- Adhere several Iridescent Sequins using Fine-Tip Glue. Let dry.

Just 6 days left to use your Bonus Days coupons!


It’s been a “learning curve” for me as well! But, I do like the new blog format…..keep up the good work. Love looking at your ideas for inspiration. Thanks.
Thank you, Karen! I’m so glad you like the new blog format. I appreciate the encouragement!
I love the CAS look of this card. I hope you take the time to video your tutorials. I just discovered you!
Hi Judy! I’m so glad you found me! I have a huge video library on YouTube which can be found here https://www.youtube.com/channel/UCwhQRmsAA4vRV1Ykaorpq8g. There’s also a video tab at the top of this page that will easily direct you there. Thanks for stopping by!