Celebrate fall with 50% off the September Paper Pumpkin kit! Not sure what Paper Pumpkin is? Take a look HERE! In addition, all my Paper Pumpkin subscribers enjoy Paper Pumpkin Parade – 7 alternate project ideas using each month’s kit. Normally $19.95, on sale August 11-September 10th for only $9.98! The kit includes everything you need – stamp set, ink, pre-cut supplies and picture instructions. It’s easy enough for the beginner and fun for the avid paper crafter who enjoys a break from the prep. Use promo code HALFOFF0917 by September 10th to qualify.
CLICK HERE to sign up!
Do you think every handmade card needs to use a stamp? I’d say no. In fact, there are some fabulous cards that don’t include a single stamped image.
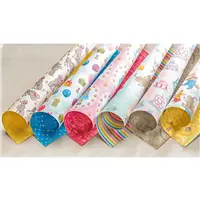
Today’s tutorial features the Birthday Memories Designer Series Paper. The colors and images are cheerful and easy to cut out, creating the perfect focal point on any card, gift bag or scrapbook layout.
I’ve included written instructions below for those of you using a mobile device. I also have a free PDF tutorial available for those that would like to download and save this project for a later day.
Don’t forget to check out my Project PDF Tutorial Library for more project tutorials that feature complete card collections and fancy folds. Click HERE to view the library.
Supplies:
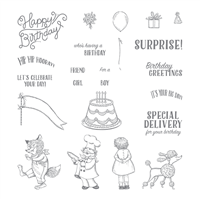
- Stamps – Birthday Delivery (143660)
- Paper – Whisper White (100730); Pacific Point (111350); Lemon Lime Twist (144245); Birthday Memories Designer Series Paper (144118)
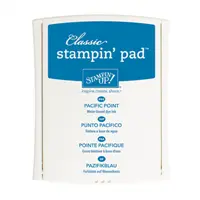
- Ink – Pacific Point (126951)
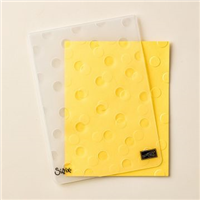
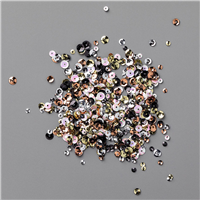
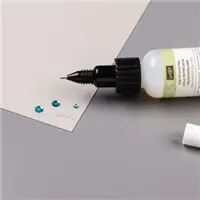
- Other – Big Shot (143263); Stitched Shapes Framelits (145372); Polka Dot Basics Embossing Folder (143709); Metallic Sequin Assortment (144214); Fine Tip Glue Pen (138309); Stampin’ Dimensionals (104430)
Measurements:
- Pacific Point (base): 4 1/4″ x 11”, scored at 5 ½” and folded in half
- Lemon Lime Twist (layer): 4” x 5 1/4”
- Whisper White (inside layer): 4” x 5 1/4″
- Whisper White: scrap to die cut
- Designer Paper (polka dot pattern): 2 1/2” x 5”
- Designer Paper (stripe pattern): ½” x 4”
Instructions:
- Emboss the Lemon Lime Twist layer using the embossing folder. Adhere it to the card base.
- Create a banner tip on one end of the polka dot patterned designer paper. Adhere the banner to the center of the Lemon Lime Twist layer.
- Adhere the striped pattern designer paper to the top of the Lemon Lime Twist layer.
- Die cut a stitched circle from white cardstock scrap. Adhere the circle to the center of the polka dot designer paper using Dimensionals.
- Cut out the raccoon from the designer paper. Adhere the image to the lower right corner of the stitched circle using Dimensionals.
- Add sequins to the stitched circle using Fine Tip Glue.
- Stamp the greeting “Happy Birthday” using Pacific Point ink on the white inside layer. Adhere to the inside of the card.


