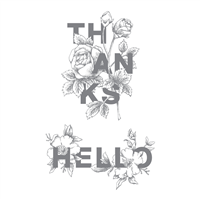
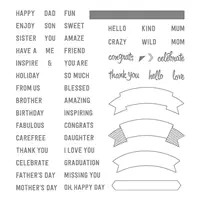
The images in the Floral Statements stamp set are elegant and large. Although I love to color I wanted to try something a bit more simple without losing the elegance.

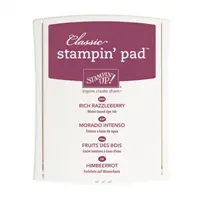
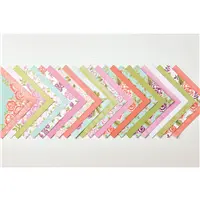
I opted to stamp the “thanks” on the Petal Garden Designer Paper. The rose pattern made the perfect background. I used Rich Razzleberry ink then stamped it again on an additional piece of designer paper. I used my scissors to cut out one single bud, mounting it over the top of the original stamped image using Mini Dimensionals.

It looked a bit plain so I took my Aqua Painter, while the ink was still slightly damp and bled the color through the petals. I was careful not to oversaturate the paper and then allowed it to dy.

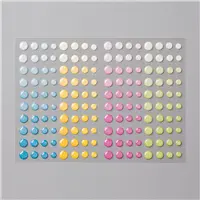
I stamped the “so much” from the Thoughtful Banners stamp set on a piece of Rich Razzleberry cardstock. The Mini Dimensionals are perfect for these small pieces. An Old Olive Glitter Enamel Dot fit perfectly to the side. After all, when is a little sparkle not appropriate, right?
Don’t overlook those images when you’re not in the mood to color them in. Use a piece of patterned paper and stamp away. I think you will be surprised at how easy, and beautiful, your finished card will be.

Fast, Easy, Fun Holidays!
To give you more of what you love, during October and November Paper Pumpkin will include two straight months of perfectly coordinated Christmas cardmaking and gift projects. Two coordinating kits means you’ll have everything you need to complete unique holiday cards and gifts and have more creative options. Plus, who doesn’t love a handmade holiday touch without the fuss?! Subscribe by October 11th to receive the October and November coordinated kits.
And, if that’s not enough, all my Paper Pumpkin Subscribers receive 7 additional project tutorials with alternate ideas! Don’t know what Paper Pumpkin is? Get all the details about the kits and my Paper Pumpkin Parade of tutorials HERE.


