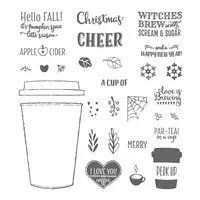
Today’s tutorial celebrates the flavors of fall. Whether you’re a fan of pumpkin latte’s or chai tea this card will have you sniffing the air imagining your favorite fall aroma.
I’ve included written instructions below for those of you using a mobile device. I also have a free PDF tutorial available for those that would like to download and save this project for a later day.
Don’t forget to check out my Project PDF Tutorial Library for over 40 project tutorials that feature complete card collections and fancy folds. Click HERE to view the library.
 All images © 1990-2017 Stampin’ Up!
Supplies:
- Stamps: Merry Cafe Stamp Set [144965]
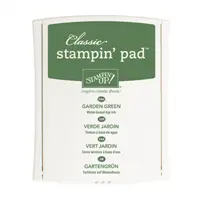
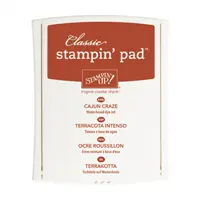
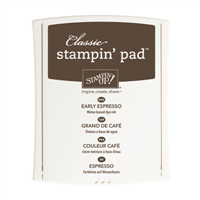
- Ink: Garden Green [126973], Cajun Craze [126965], Early Espresso [126974]
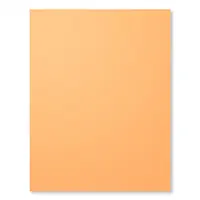
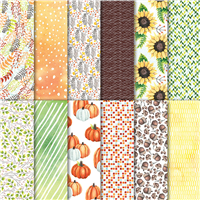
- Paper: Crumb Cake [120953], Early Espresso [119686], Very Vanilla [101650], Peekaboo Peach [141417], Garden Green [102584], Painted Autumn Designer Series Paper [144613]
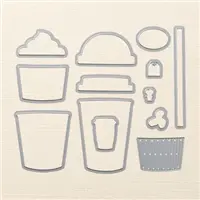
- Other: Big Shot [143263], Coffee Cups Framelits Dies [143745], Linen Thread [104199], Stampin’ Dimensionals [104430], Glue Dots [103683], Pencil
Measurements:
- Crumb Cake (base): 4 ¼” x 11”, scored at 5 ½” and folded in half
- Crumb Cake: scrap
- Very Vanilla (layer): 2 ¾” x 3 ¾ ”
- Early Espresso (layer): 3” x 4 ”
- Peekaboo Peach (coffee cup): 2 ½” x 3 ½”
- Garden Green: scrap
- Designer Paper (squares pattern): 2” x 4 ¼ “
- Designer Paper (Early Espresso chevron pattern) – scrap
- Designer Paper (pumpkin pattern)
- Linen Thread: 8”
Instructions:
- Lay the square pattern designer paper in the center of the card base. Using the pencil, mark where the top and bottom edges will be. Remove the designer paper and stamp the outline leaf image using Garden Green ink near both pencil lines, at the top and the bottom. Repeat using the berry image with Cajun Craze ink.
- Randomly stamp the splatter image using Early Espresso ink on the card base to create a background.
- Adhere the designer paper between the pencil marks on the card base.
- Stamp the greeting on a piece of Crumb Cake scrap cardstock. Die cut using the bellyband framelit.
- Stamp the large coffee cup image using Early Espresso ink on the Peekaboo Peach cardstock. Die cut using the coordinating framelit. Stamp the leaf images, with the leaves facing up and down as shown, using Garden Green ink. Be sure to extend the stamped leaves past the area where the bellyband will fall.
- Die cut the cup vent using the appropriate framelit and the Garden Green scrap cardstock.
- Die cut the cup lid using the appropriate framelit and the Early Espresso chevron pattern designer paper.
- Adhere the vanilla layer to the Earl Espresso layer. Adhere these layers to the center of the card base using Dimensionals.
- Adhere the coffee cup to the vanilla layer, leaving space at the top for the lid. Adhere the lid to the top of the cup using Dimensionals. Adhere the Garden Green die cut cup vent to the left side of the cup using a Glue Dot.
- Cut out a cluster of pumpkins from the designer paper using your scissors. Adhere to the lower right corner of the coffee cup layers using Dimensionals. Tie a bow in the Linen Thread. Adhere to the tallest pumpkin using a Glue Dot.
October’s Studio Stamps in the Mail
Stamp with me from home with the October Studio Stamps in the Mail edition. This month I’m including the Night in Bethlehem Bundle (stamps and and coordinating Edgelits), free pre-cut supplies to make 8 cards (2 each of 4 different designs), video and PDF tutorial. Get the details HERE.
October savings!
Fast, Easy, Fun Holidays!
During October and November Paper Pumpkin will include two straight months of perfectly coordinated Christmas cardmaking and gift projects. Two coordinating kits means you’ll have everything you need to complete unique holiday cards and gifts and have more creative options. Plus, who doesn’t love a handmade holiday touch without the fuss?! You’ll need to subscribe by October 10th to receive the October and November coordinated kits.
And, if that’s not enough, all my Paper Pumpkin Subscribers receive 7 additional project tutorials with alternate ideas! Don’t know what Paper Pumpkin is? Get all the details about the kits and my Paper Pumpkin Parade of tutorials HERE.


