Thanksgiving is just a few weeks away and with it will come an invitation (or two) to join friends and family for a holiday meal. Don’t go empty handed! Today’s tutorial provides a quick and impressive gift.

I’ve included written instructions below for those of you using a mobile device. I also have a free PDF tutorial available for those that would like to download and save this project for a later day.
Don’t forget to check out my Project PDF Tutorial Library for more project tutorials that feature complete card collections and fancy folds. Click HERE to view the library.
Just 3 Days Left!
There are just 3 days left to order October’s Studio Stamps in the Mail (SSITM). This month’s edition will include the Night of Bethlehem Bundle (stamp set and coordinating Edgelits). I include FREE pre-cut supplies to make 8 cards (2 each of 4 different designs), accessories, envelopes, a video and PDF tutorial. It’s a great way for you to stamp along with me from home. You can find a short introduction video that will show you the cards and the products included. Click HERE or on the image below. Ordering ends THIS Sunday, October 15th.
Painted Harvest Mini Pizza Box & Note Card Tutorial
Supplies:
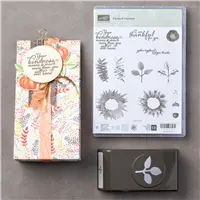
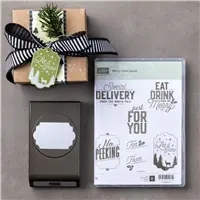
- Stamp – Painted Harvest (146021); Merry Little Labels (146029 wood, 146030 clear)
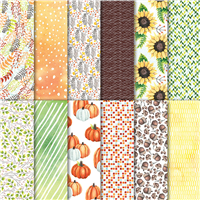
- Paper – Early Espresso (119686); Very Vanilla (101650); Pear Pizzazz (131201); Whisper White (100730); Painted Autumn Designer Paper (144613)
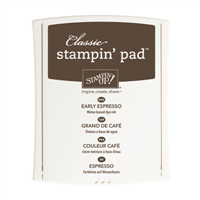
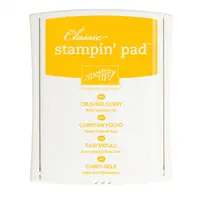
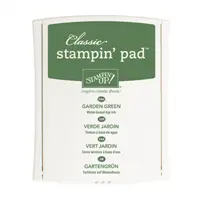
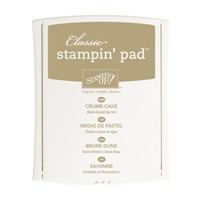
- Ink – Early Espresso (126974); Crushed Curry (131173); Garden Green (126973); Crumb Cake (126975)
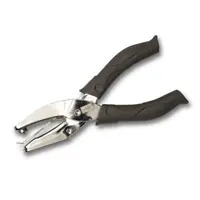
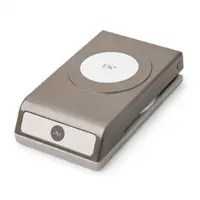
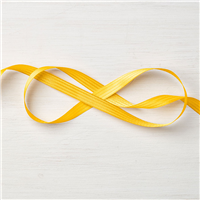
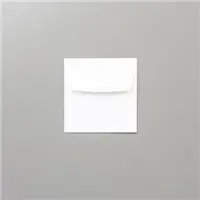
- Other – 1” Circle Punch (119868); 5/8” Burlap Ribbon (141487);; Mini Pizza Boxes (144645); 1/8” Handheld Circle Punch (134365); 1/16” Handheld Circle Punch (134363); 1 ¾” Circle Punch (119850); 3/8” Crushed Curry Stitched Satin Ribbon (144182); Stampin’ Dimensionals (104430); Mini Glue Dots (103683); Whisper White 3” x3” Envelopes (145829)

Pizza Box Measurements:
- Designer Paper (Early Espresso chevron pattern): 2” x 11”
- Designer Paper (sunflower pattern): 1 ½” x 11”
- Whisper White: scrap
- Crushed Curry ribbon: 17”
- Burlap Ribbon (strand): 6”
Instructions:
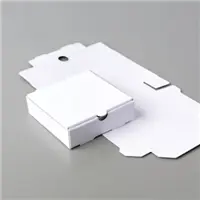
- Adhere the sunflower pattern designer paper to the Early Espresso chevron pattern designer paper. Wrap the designer paper around the Mini Pizza Box, creasing along the edges. Adhere the raw ends to the back.
- Stamp the “Just For You” greeting using Early Espresso ink on white scrap cardstock. Punch out using the Everyday Label Punch. Stamp the larger flower image from the Painted Harvest stamp set using Crushed Curry ink on the outside edge of the tag. Stamp the smaller flower image from the Painted Harvest s tamp set using Crushed Curry ink, directly over the first image. Stamp the center of the flower using the corresponding image in Early Espresso ink, stamping off one layer of ink on scratch paper to reduce the shade. Stamp the dotted image using Early Espresso ink in the center of the flower.
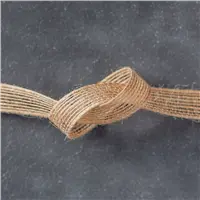
- Tie the Crushed Curry Stitched Satin Ribbon around the width of the designer paper bellyband in a bow. Punch a 1/16” in the top of the punched label. Thread the Burlap Ribbon strand through the hole and secure it under the bow by tying it in a knot.

Sunflower Mini Note Card Measurements:
- Early Espresso (base): 3” x 6”, folded in half
- Very Vanilla: 2 ¾” x 2 ¾”
- Very Vanilla: scrap
Instructions:
- Stamp the larger flower image from the Painted Harvest stamp set using Crushed Curry ink in the lower right corner of the Very Vanilla layer. Stamp the smaller flower image from the Painted Harvest s tamp set using Crushed Curry ink, directly over the first image. Stamp the center of the flower using the corresponding image in Early Espresso ink. Stamp the dotted image using Early Espresso ink in the center of the flower.
- Stamp the greeting using Early Espresso ink in the upper left corner of the Very Vanilla layer.
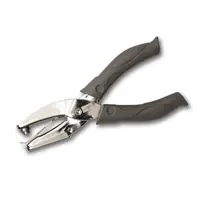
- Stamp the solid leaf image on Very Vanilla scrap cardstock using Garden Green ink, stamping off one layer of ink on scratch paper to reduce the shade. Stamp the outline leaf image using Garden Green ink directly over the first leaf. Punch out using the Leaf Punch. Punch a 1/8” hold near the lower left corner of the sunflower. Place Dimensionals on the back of the leaf and slide the end of the leaf into the hole.
- Adhere the Very Vanilla layer to the card base.

Acorn Mini Note Card Measurements:
- Early Espresso (base): 3” x 6”, folded in half
- Very Vanilla: 2 ¾” x 2 ¾”
- Very Vanilla: scrap
- Designer Paper (acorn pattern): 1” x 2 ¾”
- Burlap Ribbon (strand): 16”
Instructions:
- Stamp the solid fern image two times, on the far right side of the Very Vanilla layer using Crumb Cake ink, stamping off one layer of ink on scratch paper to reduce the shade. Be sure the stamped image is high enough to show once the designer paper is adhered.
- Stamp the greeting in the upper left corner of the Very Vanilla layer using Early Espresso ink.
- Adhere the designer paper to the bottom edge of the Very Vanilla layer.
- Stamp the acorn base two times on Very Vanilla scrap cardstock using Early Espresso ink. Stamp the acorn caps on top of the acorns using Crumb Cake ink. Punch out using the 1” Circle Punch. Add a Dimensional to the back of the circle and remove the paper backing. Loop the Burlap Ribbon strand back and forth, securing the center to the Dimensional. Add extra Dimensionals and adhere the circle to the lower right corner of the card base as shown.

Pumpkin Mini Note Card Measurements:
- Very Vanilla (base): 3” x 6”, folded in half
- Designer Paper (leaves/fern pattern: 2 ¾” x 2 ¾”
- Designer Paper (pumpkin pattern): 1 to cut out
- Very Vanilla: 5/8” x 2 ¾”
- Burlap Ribbon (strand): 16”
Instructions:
- Adhere the leaves/fern pattern designer paper to the Very Vanilla base.
- Stamp the greeting using Early Espresso ink on the 5/8” x 2 3/5” piece of Very Vanilla cardstock. Create a banner tip on the left side. Adhere to the lower portion of the card base using Dimensionals.
- Cut out one pumpkin from the designer paper. Add a Dimensional to the back of the pumpkin and remove the paper backing. Loop the Burlap Ribbon strand back and forth, securing the center to the Dimensional. Add extra Dimensionals and adhere the pumpkin to the top right corner of the banner as shown.

Leaves Mini Note Card Measurements:
- Very Vanilla (base): 3” x 6”, folded in half
- Designer Paper (leaves pattern: 2 ¾” x 2 ¾”
- Very Vanilla: scrap
- Pear Pizzazz: scraps to punch
- Burlap Ribbon: 4”
Instructions:
- Adhere the Burlap Ribbon to the center of the designer paper using Glue Dots. Adhere the designer paper to the card base.
- Stamp the greeting using Early Espresso ink on Very Vanilla scrap cardstock. Punch out the greeting using the 1 ¾” Circle Punch. Adhere to the left side of the Burlap Ribbon using Dimensionals. Be sure to leave ample room behind the greeting to slide in the leaves.
- Stamp the outline leaf two times image using Garden Green ink on Pear Pizzazz scrap cardstock. Punch out using the Leaf Punch. Adhere to stems behind the greeting using Glue Dots.








OMG! Gorgeous project. Thank you for the tutorial, I will be making it for a friend who’s hubby is battling cancer.
I’m so glad you like it, Liz! I know your hand stamped gift will brighten up her day! Thanks for coming by!