It’s the final week for the Santa’s Little Elves Design Team! I’m honored to have been asked to join the this group of designers to bring you amazing projects every Friday between November 3rd and December 15th. Each of the elves has contributed one project during the seven weeks that will include step-by-step instructions, color photos and a complete list of supplies. This design team is all about bringing you fabulous gift ideas with a wide variety of styles and expertise. Each elf has designed their project with the intent of making it easy for you to duplicate.
I’ve included written instructions below for those of you using a mobile device. I also have a free PDF tutorial available for those that would like to download and save this project for a later day.

Don’t forget to check out my Project PDF Tutorial Library for more project tutorials that feature complete card collections and fancy folds. Click HERE to view the library. All the supplies can be purchased in my online store. I provide generous ordering REWARDS, too! Details on my REWARDS program can be found HERE.


Stampin’ Up! Supplies:
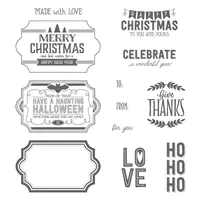
- STAMPS – Labels to Love (144970 wood, 144967 clear)
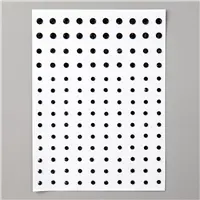
- PAPER – Basic Black (121045), Whisper White (100730), Merry Little Christmas Designer Series Paper (DSP) (144621)
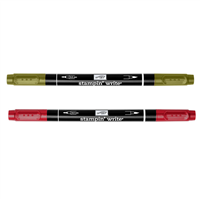
- INK – Memento Tuxedo Black (132708), Old Olive and Real Red Stampin’ Write Markers (145059)
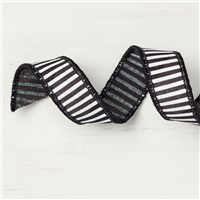
- OTHER – Blender Pens (102845), Everyday Label Punch (144668), 1″ Circle Punch (119868), Stampin’ Trimmer (126889), Season of Glitz Mini Gift Bows (144635), Black Mini Sequin Trim (144259), Black Rhinestone Jewels (144639), 7/8″ Striped Ribbon (144624), Mini Glue Dots (103683), Fast Fuse Adhesive (129026)
Cutting & Scoring:
- Basic Black Cardstock – 8 ½” x 7″, with long edge at the top of the trimmer score at 2″ and 5 ¼”
- Whisper White Cardstock – 6 7/8” x 3 1/8“, scrap
- DSP – 1 ¼” x 3″, 5 ½” x 3″, 1 7/8” x 6 7/8“
Instructions:
- Fold money holder on the score lines, crop a half circle from the smaller section to create a thumb slot.
- Add the 1 ¼” x 3″ and 5 ½” x 3″ pieces of DSP to the layer of white, wrap a 4″ piece of ribbon around the seam and secure to the back with Fast Fuse. Add this layer to the front of the holder.
- Ink greeting in Memento, use a Blender Pen to remove the black ink on the trees. Ink trees with the Old Olive Marker.
- Stamp image on a scrap of Whisper White and crop with the Everyday Label Punch, add to the holder where shown.
- Remove the paper backing from one of the green gift bows, snip a 3″ piece of Sequin Trim, fold it in half and add it to the back of the bow. Add this near the greeting where shown.
- With the holder open and the decorated side showing, add the 1 7/8” x 6 7/8” piece of DSP to the smaller section, use the 1″ circle punch to crop the thumb slot.
- With the holder open and the blank side showing, add Fast Fuse to both outside edges of the smaller section, fold up and burnish to stick, creating the space for the money.