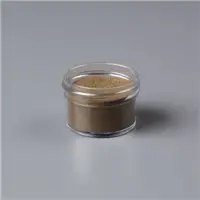
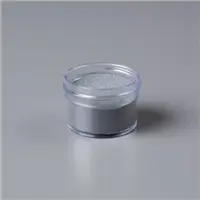
The Tarnished Foil technique isn’t ‘new’ by any means but it certainly is impressive. Layers of embossing powder provide an aged patina appearance that’s both striking and easy to create. The best part – this technique is fool proof! I promise.
Today’s video will teach you how to create this look with step by step instructions and lots of tips along the way. Tips range from adhering the finished layer to cleaning up stray embossing powder. I’ve also included three additional cards using this same technique. Be sure to scroll down past the video in this post so you don’t miss the pictures, cutting dimensions and supplies.

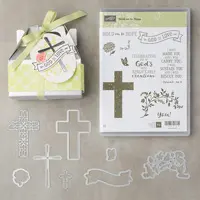
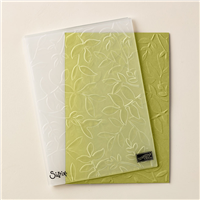
This card uses the Hold on to Hope Bundle and the Layered Leaves Embossing Folder.


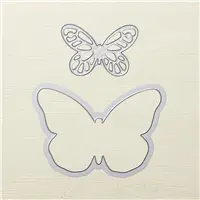
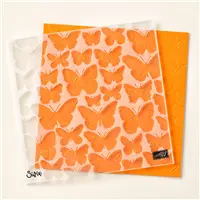
This card uses the Bold Butterfly Framelits, Special Celebrations stamp set (for the greeting) and the Fluttering Embossing Folder.


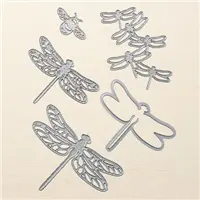
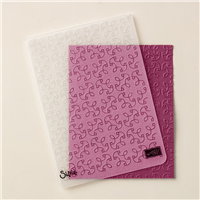
This card uses the Detailed Dragonfly Thinlits, Garden Trellis Embossing Folder and Beautiful Bouquet stamp set (for the greeting).


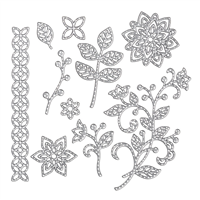
This card uses the Flourish Thinlits, Layered Leaves Embossing Folder and Special Celebrations stamp set (for the greeting).

Cutting Dimensions
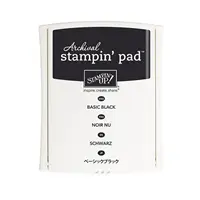
- Basic Black cardstock base is cut 5 1/2″ x 8 1/2″ and folded in half
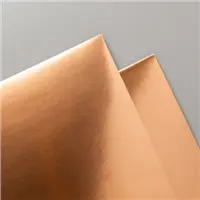
- Copper Foil Sheet is cut 3 1/2″ x 4 3/4″.
- Basic Black strip is cut 3/4″ x 3 1/2″
Get Rewarded!
When you spend $25 in product* (*before tax and shipping) you’ll receive an invitation to join my “Live with Lisa” private event – demonstrations, a bundle of tutorials, Frequent Buyer Points and product Prize Patrol. Spend $50* and you’ll receive all that PLUS a VIP gift list to choose another free product! My REWARDS program is generous! Use this month’s host code – found under the “shop now” button here on my blog – and get added inspiration and products!










Great technique! I think the leaf card is my favorite.
Love the technique. Leaves is my favorite. What color card stock did you use for the inside of the cards?
Hi Cindy! Thank you for your comment and your favorite selection! I used whisper white cardstock for the inside of these cards.
Thank you, Laura! So thankful you took the time to chime in on your favorite. I appreciate the feedback!
Lisa
It is impossible to choose.
All so beautiful. I can’t hardly wait to try this technic.
Thank you as always.
Hi Anna! This is one of my favorite techniques simply because it’s fool proof. Looking forward to your feedback after you’ve had a chance to try it!
HI Lisa. These are gorgeous cards. Thank you for sharing; you are the best!
Hi Loretta! Aren’t you the sweetest?! Thank you for stopping by and the comment. So glad you like them all!
Gorgeous cards and fun technique. Thanks Lisa. I learn so much from watching your videos.
I’m thrilled that you find my videos informative and helpful, Jean! Thanks for following me!
Beautiful cards. Love the Hold on to Hope card.
Love them all
Thanks for stopping by with your ‘favorite vote’, Sharon.
love the card with the cross
Hi Margaret! It’s stunning, isn’t it? Although it’s not in spring colors I think it would work well for Easter, too. Thanks for your comment.
I could not pick a favorite. As soon as I am done with Valentine cards, I want to try this technique. Thank you so much. You gave wonderful directions.
Happy to read you found the directions easy to follow, Shirley. This is such a fun technique and you can’t mess it up! 😀 Better yet, right?! Thanks for commenting.
Love the dragonfly, and what a gorgeous technique
The vellum behind the dragonfly is quite dramatic, isn’t it, Jane? Thanks for your comment. So glad you enjoyed the projects.
It’s really hard to decide which I like best. However, I think the cross would be great for Easter. Thanks for sharing Lisa.
Hi Sheila! I think the cross would be great for Easter as well as sympathy, get well – just about anything with a different greeting. When isn’t a cross appropriate, right?! 😀 Thanks for stopping by with your comment.
Amazing cards, Lisa! I can’t wait to try this technique! While I’m here – I want to compliment you on your excellent teaching style……you are truly gifted and inspire me!
Oh, Sue, I’m giggling here…if you saw what parts of my videos end up on the editing floor you might not say I’m “gifted” in teaching ((smile)) Thank you for the kind words. I think anything we are passionate about comes out when we talk about that passion. So glad you like the cards and thank you for your sweet words!
Oh….I like the cross best!
Sue.
So happy you took the time to leave me a comment with your favorite, Sue! Thank you!
Beautiful card!! Looks like I’ll be starting my embossing journey. 🙂 Can you put the Versamark right after you dry with the heat gun or do you have to wait a bit? Much thanks!
Hi Jeanette! You can add the Versamark right after you heat emboss. I can hardly believe you’ve held off your embossing journey this long?! I can’t live without embossing powders and my heat tool! 😀
All of the cards are beautiful. It would depend on the occasion as to which one I would choose. Thanks for the great technique.
Thanks for chiming in with your comment, Mary! I appreciate the feedback!
Very pretty cards! The Cross is my favorite of these cards!! TFS!
Thank you, Verna! I love reading everyones favorites!
Your cards are absolutely beautiful, Lisa. A must do technique for me. Also, hope you are feeling better.
Hi Kathy! I’m feeling really good. Still a tad sore but overall I’m close to being ‘back to myself’. Thank you for your sweet words. I’m so glad you liked the technique and the cards. Thanks for stopping by to leave me a comment.
You make such beautiful cards! Thank you for sharing this unique technique. My favorite is the cross. SO elegant!
Awww, thanks, Diane! I really love what I do and I hope it shows. The cross is beautiful and appropriate for nearly any type of card. Thanks for stopping by to leave your comment. I appreciate the feedback.
Awesome video. Beautiful cards. They are all great! The dragonfly is my favorite. Thank you for sharing!
Hi Carolee! I’m so glad you enjoyed the video and the cards. Thanks for stopping by to tell me your favorite!
Hi Lisa loved your technique thanks so much for sharing
Hi Karen! Thanks for watching. I’m glad you’ve enjoyed the technique and hope you’ll give it a try!
thank you for the presentation of this technique, the card that I prefer is the one with the dragonfly, the whole fold and cut created is a nice card
Hi Mariette! I’m so glad you enjoyed the demonstration. Thank you for leaving me a comment withe your preference of card design.
Great technique! We added to this by using blue embossing powder too! Made it look even more patina-ed!
I’m so glad you liked it, Lisa. Thank you for watching. GREAT idea about using the blue embossing powder! I’ll have to give that a try.
You saved me, I was looking for a masculine birthday card and I just moved so 85% of my supplies are still packed. Bu I had my 5 inch double sided adhesive, tinfoil, and the box that had card blanks and the embossing powders… ok I had to go old school and use a lightbulb for the heat source but what is a crafty girl going to do? You have just made a fan out of me, I love how you do your videos.
Hi Pam! I’m so glad that this card was helpful and thrilled you found my website! Also excited to read that you enjoy how I share in my videos. Please subscribe to my website you don’t miss any of the inspiration that will be coming up! Thanks for coming by!
This is the second time I’ve watched this video learning more again. Never thought of mixing two or more metallics together but the results are fabulous. Thanks for sharing your creativity
Hi Dottie! I’m thrilled you’ve come back to watch. Thank you! So glad you found this video helpful!
This is the first time I have seen this technique and I’m really impressed and can’t wait to give it a go. I enjoyed your video as you spoke really clearly and I sometimes have a problem even with my hearing aids so thank you for that it is much appreciated. I like them all but I think the dragon fly is my favourite.
Hi Ann! So glad that I could share a new idea with you. And happy to read that you enjoyed how I presented my video. Thank you for the kind words!