A beautiful floral stamp set will create cards for any type of greeting. Whether it’s birthday or sympathy they are always appropriate. The best part about floral images is the creative freedom you have to make them any color you’d like.
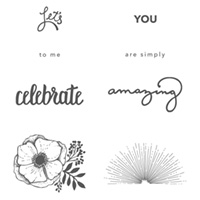
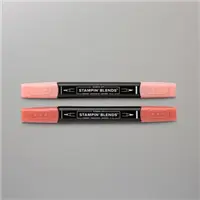
Today’s tutorial uses the FREE stamp set from Sale-A-Bration “Amazing You” and the Stampin’ Blends. But there’s no blending required for this card! Simply apply the color to the two different layers of the flowers. I’ve included written instructions below for those of you using a mobile device. I also have a free PDF tutorial available for those that would like to download and save this project for a later day.
Don’t forget to check out my Project PDF Tutorial Library for more project tutorials that feature complete card collections and fancy folds. Click HERE to view the library. All the supplies can be purchased in my online store. I provide generous ordering REWARDS, too! Details on my REWARDS program can be found HERE.
Spotlight with Lisa – Monday!
Mark your calendar for Monday, February 26th at 8PM EST – 5PM PST – 6PM MST – 7PM CST for my LIVE Facebook demonstration called “Spotlight with Lisa“. During this event I will share a new project idea, lots of tips and interactive fun. Plan to join me – it’s FREE! Click HERE to like and follow my Facebook page so you don’t miss the reminders and notifications.
Be sure to “like” and “follow” my Facebook page so you don’t miss the Live notifications. The picture below will show you how.
Amazing You Tutorial

Supplies:
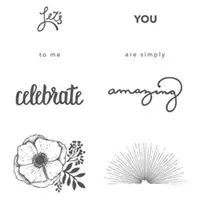
- Stamps: Amazing You – Sale-a-Bration 2018 (wood 147212, clear 147215)
- Inks: Memento Black (132708), Versamark (102283)
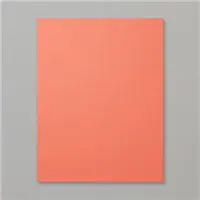
- Paper: Thick Whisper White (140272), Basic Black (121045), Calypso Coral (122925)
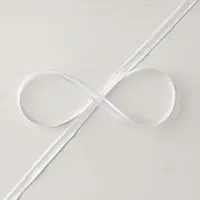
- Other: Heat Tool (129053), Embossing Buddy (103083), White Stampin’ Emboss Powder (109132), Stampin’ Blends Calypso Coral Combo Pack (144045), Whisper White ¼” Organza Ribbon (145590), Wink of Stella (141897), Stampin’ Dimensionals (104430)
Measurements:
- Calypso Coral (base): 5 ½” x 8 ½” and folded in half
- Basic Black (layer): 2 ¼” x 5 ½”
- Basic Black: scrap
- Thick Whisper White (layer): 2” x 5 ½”
- Ribbon: 10”
Instructions:
- Stamp the flower image using Memento ink on the Thick Whisper White cardstock multiple times as shown.
- Color the flowers using the Stampin’ Blends. Color the top layer with the light Blends and the bottom layer using the dark Blends.
- Cover the center of the flowers using the Wink of Stella. Let dry. Be sure to brush off the tip of the Wink of Stella on scratch paper to remove any pigment picked up from the Stampin’ Blends before storing.
- Adhere the Thick Whisper White layer to the Basic Black layer.
- Tie the ribbon around the layers and complete with a bow as shown.
- Stamp the greeting “amazing” using Memento ink in the lower right corner of the card base. Be sure to leave room to mount the word “you”.
- Stamp the word “you” using Versamark ink on the black scrap cardstock. Sprinkle with the white embossing powder. Heat set using the Heat Tool. Trim the greeting down using your scissors. Adhere the word to the card base using a small piece of a Dimensional, just below the word “amazing”.
Select $227 in products for only $99!
The custom kit includes your choice of $125 in Stampin’ Up! products for a reduced price of $99. During Sale-A-Bration (through March 31st) add any two (2) free stamp sets of your choice. There’s no value limit so you can choose your favorite sets! That’s another $102 value! (Sale-A-Bration products, host exclusive stamp sets and bundles are excluded.) And the best part – shop at a 20% discount through July 31st with no obligation whatsoever! Watch my short 4-minute video for details.
It’s an Anniversary Gift Just For You!
Can you believe that Paper Pumpkin will be 5 years old in March?! We’re celebrating by including a free gift in the March kit complimented by a special anniversary box. But don’t wait! Ordering for this special anniversary edition is only valid through March 10th! And, all my subscribers also receive – for FREE – a bundle of tutorials with alternate project ideas using their kit? It’s called Paper Pumpkin Parade which provides lots of inspiration for each month’s kit. See the sneak peek pictures of prior month’s tutorial projects HERE.


