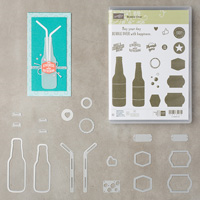
I’m always searching for that fun and different Stampin’ Up! stamp set and I the Bubble Over Bundle (stamp set and coordinating framelits) definitely fits that category. I sat down with this Bundle recently and created lots of cards like today’s bottle trio. I’m going to give you a big piece of advise – purchase this in a Bundle – always! The framelits are amazing and you won’t want to fussy cut those bottles! Bundles save you 10% over the price of purchasing them separately.
These brightly colored bottles remind me of the days when flavored sodas were sold in glass bottles. I remember Fanta, Orange Crush and Dr. Pepper being huge sellers in the 1960’s and 1970’s. Yes, I’m dating myself! Using the framelits, this card is simple to create and those bright colors are complimented well by the black cardstock with the embossed greeting. I’ve included written instructions below for those of you using a mobile device. I also have a free PDF tutorial available for those that would like to download and save this project for a later day.
Don’t forget to check out my Project PDF Tutorial Library for more project tutorials that feature complete card collections and fancy folds. Click HERE to view the library. All the supplies can be purchased in my online store. I provide generous ordering REWARDS, too! Details on my REWARDS program can be found HERE.
 All images © 1990-2018 Stampin’ Up!®
Supplies:
- Stamps – Bubble Over Bundle (146082)
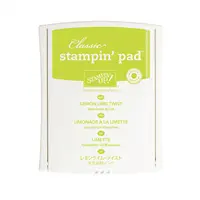
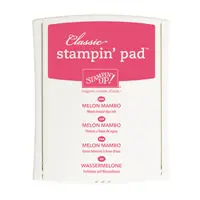
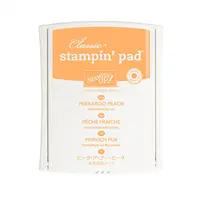
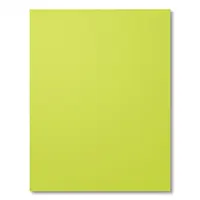
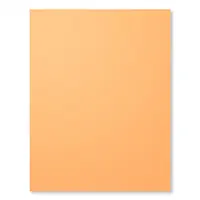
- Paper – Whisper White (100730); Lemon Lime Twist (144245); Melon Mambo (115320); Peekaboo Peach (141417); Basic Black (121045)
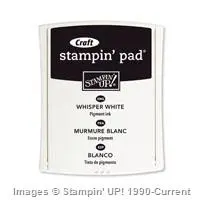
- Ink – Lemon Lime Twist (144086); Melon Mambo (126948); Peekaboo Peach (141398); Whisper White Craft (101731)
- Other – Sponge Daubers (133773); ¾” Circle Punch (119873); Embossing Buddy (103083); White Stampin’ Emboss Powder (109132); Heat Tool (129053); Stampin’ Dimensionals (104430); Mini Glue Dots (103683)
Measurements:
- Whisper White (base): 5 ½” x 8 ½”, folded in half
- Whisper White (layer): 4” x 5 ¼”
- Whisper White: scraps
- Lemon Lime Twist: scrap
- Melon Mambo: scrap
- Peekaboo Peach: scrap
- Basic Black (layer): 4 1/8” x 5 3/8”
- Basic Black (greeting): ¾” x 3 5/8″
Instructions:
- Adhere the Whisper White layer to the Basic Black layer.
- Die cut three of the small bottles using Whisper White scrap cardstock.
- Using a separate Sponge Dauber for each color, color in the die cut bottle, one each in Lemon Lime Twist, Melon Mambo and Peekaboo Peach. Leave a small area at the top of the bottle uninked as shown.
- Die cut three large bottle caps; one each in Lemon Lime Twist, Melon Mambo and Peekaboo Peach. Adhere the bottle caps to their respective colored bottle using a Glue Dot.
- Die cut three large bottle labels using Whisper White scrap cardstock. Adhere the labels to the center of each of the three die cut bottles.
- Stamp two (2) star images on Whisper White scrap cardstock; one each in Lemon Lime Twist and Peekaboo Peach. Use the ¾” Circle Punch to punch the stars. Adhere the stars using Dimensionals to their respective colored bottle label.
- Stamp the “yay!” greeting using Melon Mambo ink on Whisper White scrap cardstock. Stamp off one layer of ink on scratch paper to reduce the overall shade. Use the ¾” Circle Punch to punch out the greeting. Adhere the greeting to the Melon Mambo bottle label as shown.
- Adhere all three bottles in the center of the white layer. TIP: Start with the Melon Mambo bottle for centering purposes.
Rub the Embossing Buddy over the Basic Black (greeting) cardstock. Stamp the greeting using Whisper White Craft ink. Immediately sprinkle with White Stampin’ Emboss Powder. Set the powder using the Heat Tool. Let cool. Adhere this piece across the front of the trio of bottles as shown.


Final Day to Subscribe for Your 5 Year Anniversary Gift!
We’re celebrating 5 fantastic years of Paper Pumpkin by including a free gift in the March kit which will be complimented by a special anniversary box. But don’t wait! Ordering for this special anniversary edition is only valid through March 10th! All my Paper Pumpkin subscribers also receive my Paper Pumpkin Parade – a bundle of tutorials with alternate project ideas using each month’s kit. Subscribe HERE or by clicking on the picture below.







Love this card, Lisa. It’s so bright and cheery and will make the recipient very happy. Thanks for the project sheet to make it easy to CASE. Enjoy your day!
Hi HJ! Thank you! I love the colors and you’re right, it’s certainly cheerful! So glad you like it enough to want to CASE it! Have a great weekend.