The vast majority of paper crafters I know aren’t very neat while they are in the midst of creating. I’m raising my hand because I’m certainly in that group! It’s not uncommon for me to have cardstock scattered, in dozens of colors, on my stamp table, on the chair (which I never sit in!) and the floor. And the trash can is often as full as the table! Being creative is a messy task and it requires lots of trial and error. But, oh, how we love the process! There’s something about taking a blank piece of paper and turning it into a one-of-a-kind creation! Whether it’s a copy of something you’ve seen, or an original design, that project will have a footprint of you because it was handmade!

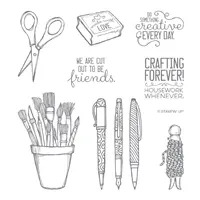
The greetings in the Crafting Forever stamp set (annual catalog) depict favorite crafting slogans. I’ve included a picture of this stamp set in the supply list below. If you click on it, the image will open when you can enlarge it further. Paint brushes, pens, scissors, twine and a rubber stamp are also included in this set.
One of my favorite parts of designing is coming up with layouts that are out of the ordinary. It’s challenging and sometimes, despite my best efforts – and lots of cardstock – I still come up empty. With “different” in mind, I opted to stamp only the upper portion of the cluster of brushes for this card.

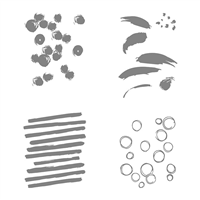
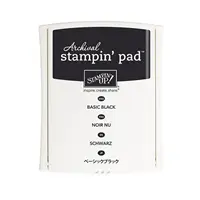
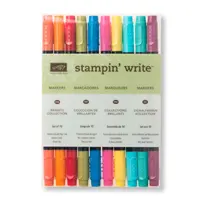
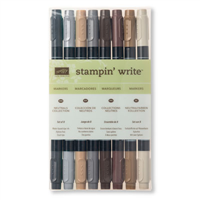
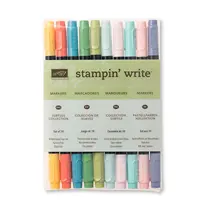
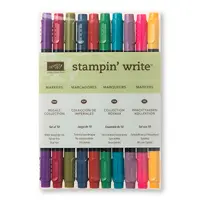
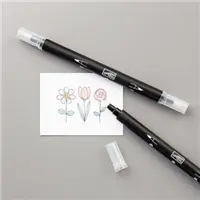
The Playful Backgrounds stamp set (annual catalog) provided the perfect “swish” marks and dots for the brushes. I used markers to color in the brush tips and to color in the single brushstrokes. The base of the brushes, hobby blade and the pencil were all colored using a Blender Pen. I scribbled the marker on my clear block and picked up the color using the Blender Pen. I only needed one ink pad for this card – Basic Black!

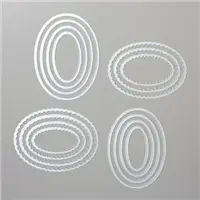
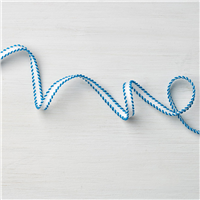
The greeting was stamped then die cut using the Layering Ovals Framelits. The graduating sizes in this set of dies makes creating layers so easy. Even after the brushes and the greeting the card was still “missing something”. I wanted to use the coordinating stitched edge ribbon, but where? After countless attempts at placing it in different areas I opted to create an “X” behind the oval. I cut two pieces each measuring 5″ and criss-crossed them, using Glue Dots to secure them in place. It’s definitely different!
What’s something creative you’ve done today? Leave me a comment!





I love this card. Just found your blog a few weeks ago.
Hi Linda! I’m so glad you found my blog and that you liked today’s card. Thank you! If you don’t already have a Stampin’ Up! demonstrator and would like complimentary copies of the current catalogs I’d be happy to send them to you. You can email me at [email protected] and provide your mailing address if you’re interested. Thanks again for stopping by!
Today I have moved all my card stock (a lot!) to a new home and checked out all the labels and colours. I may not have created anything today, but I will be able to tomorrow!
I love your creations. ? ❤️?
Hi Pauline! Creating in a new organized area is so much fun! No doubt you’ll be creating beautiful projects! Thanks for stopping by today!
The brushes and brushstrokes are GENIUS! You open our eyes to so many creative ideas. Love it!
I’m so glad you like the card, Cindy Jo! Thank you for stopping by to take a look and for taking the time to leave me a comment! 😀
This is absolutely too cute for words. Thank you for sharing your creativity…
Glad you like it! Thanks for stopping to comment.
Since I got a new computer just for my stamping tutorials and card ideas, I have been adding sites to my new email address. Are those stamps still available? I don’t think I’ve seen them before. It’s too bad it doesn’t come in just one set to avoid high cost.
Hi Loraine! Yes, all the products used on my blog and in my videos are current and available. If you scroll to the bottom of my blog posts you’ll find a complete list of supplies along with pictures. If you click on them you will be navigated to my online store where you can view them in a larger format as well. If you don’t already have a Stampin’ Up! demonstrator and are interested in complimentary copies of the current catalogs I’d be happy to send them to you. You can email me at [email protected] with your mailing address if you’d like me to send them. Thanks for stopping by.
I’m glad to hear others “spread out” when they make a card. It’s too bad the stamps aren’t combined into one to help costs.
Hi Loraine! Stampin’ Up! provides a large array of different images in one stamp set. I simply opted to add a few other images from another set to achieve the look I was after. Look through your inventory of stamps and add images from one set to another and you’ll not only expand your use for all your stamps but come up with amazing combinations!
I love this card! While I don’t have the Playful Backgrounds set, I think I can come up with a “swoosh” of my own, lol
thank you for sharing!
Hi Laura! I’m so glad you like the card. Thanks for coming by to take a look and for leaving me a comment. I’m certain you can find a “swoosh” that will work! You can even make one using a marker.
Hi Lisa…I am revisiting this stamp set and found your card….just so fun and vibrant. I may try to case even if I don’t have all of the supplies. (Use what you’ve got!) I always enjoy your video’s and tutorials. Thanks for all that you do to keep us inspired and creative.
Mary happy to have you case my cards!! That is why I make the video’s to share what I love to do!! Have fun making your card!!