It’s colorful and it shimmers! This beautiful floral card uses the new Shimmery White Embossing Paste and ink refills. One drop of color is mixed into the embossing paste then spread over the Sweet Soiree Decorative floral Mask. Several of the products used on this card are being retired. I’ve highlighted them below so they are easily identifiable. Remember, retiring accessories are only available until May 31st or while supplies last. You can view all the retiring products by clicking HERE.
I’ve included written instructions below for those of you using a mobile device. I also have a free PDF tutorial available for those that would like to download and save this project for a later day.
Don’t forget to check out my Project PDF Tutorial Library for more project tutorials that feature complete card collections and fancy folds. Click HERE to view the library. All the supplies can be purchased in my online store. I provide generous ordering REWARDS, too! Details on my REWARDS program can be found HERE.
 All images © 1990-2018 Stampin’ Up!®
Supplies:
- Paper – Daffodil Delight (119683), Basic Black (121045) , Whisper White (100730)
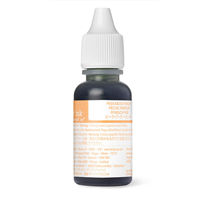
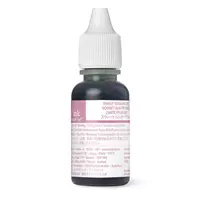
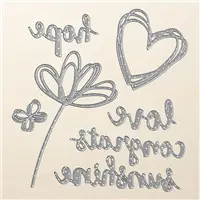
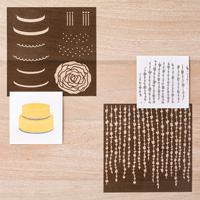
- Other – Big Shot (143263), Sunshine Wishes Thinlits Dies (141489), Sweet Soiree Decorative Masks (145643), Shimmery White Embossing Powder (145645), Palette Knives (142808), Basic Black Solid Baker’s Twine (141682), Flirty Flamingo Ink Refill (141402), Daffodil Delight Ink Refill (119672), Peekaboo Peach Ink Refill (141403), Sweet Sugarplum Ink Refill (141400), Stampin’ Dimensionals (104430); Multipurpose Liquid Glue (110755)
Measurements:
- Daffodil Delight – 5 1/2” x 8 1/2”
- Basic Black – 3 7/8″ x 5 1/8”
- Basic Black – scraps
- Whisper White – 3 3/4″ x 5”
Instructions:
- Work with one color at a time as the Embossing Paste dries very quickly. Clean the decorative mask and the palette knives with warm water mask in-between each color.
- Mix some Shimmery White Embossing Paste with 1 drop from each ink refill using the Palette Knives. Lay the floral decorative mask down on the Whisper White cardstock. Apply each color of Embossing Paste, allowing each color about 1 minute to dry. Scrape the edges of the cardstock removing any Embossing Paste that’s sticking over the edges before it dries.
- Die cut the “congrats” and the butterfly using the scrap Basic Black cardstock.
- Tie the Solid Black Baker’s Twine around the butterfly, inserting the ends through the loop (at the head).
- Once the embossing paste has completely dried, adhere it the Basic Black layer using the Multipurpose Liquid Glue. Let dry. Adhere these layers to the card base. Let dry.

Share What You Love Promotion
Are you eager to get your hands on NEW catalog products? If so, I’ve got great news for you! From May 1- 31 you can purchase the NEW 2018-2020 In Color ink pads and/or one of three special Bundles during the “Share What You Love” promotion. These Bundles are exclusive to the early release and will no longer be available after May 31st.
This short 5-minute video will show you all the bundle options. No minimum order is required. Place a $25 product order and receive an invitation to my Live with Lisa event, a bundle of free tutorials and entry into my product prize drawing. Place a $50 product order and receive all that plus your choice of free product gift. Details HERE.
Click on the image below to view the images in a larger format.

Paper Pumpkin Spring Cleaning Sale
Spring has sprung, and Paper Pumpkin has decided to do a little spring cleaning as we blow out select items in our refill and past kit inventory, beginning today. Anyone may purchase the kits listed below (not just Paper Pumpkin subscribers!) until May 9th or while supplies last. At that time, these items will be permanently discontinued. All my online ordering REWARDS apply.


A beautiful card Lisa and I have saved the PDF on my ReMarkable for a future date. I have a great collection of your fabulous designs that you have so kindly offered freely to us crafters. Thank you so much you are such a wonderful, generous card crafters/lady. I love you to bits. xx