Happy June! At 12:00 PM (Noon), Mountain Time, you can begin to place your orders for the NEW 2018 Annual Catalog. Be sure to use the current host code available on my blog to obtain my exclusive and generous ordering REWARDS.
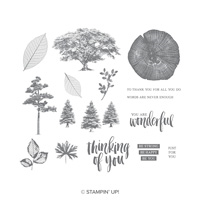
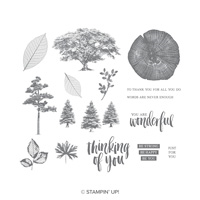
To kick things off I’m including a free tutorial using the new “Rooted in Nature” Bundle. Bundles include the stamp set and the coordinating framelits at a 10% savings. When a Bundle is available, I strongly suggest you purchase it as such…after all, who wants to fussy cut those images?
I’ve included written instructions for today’s project below. I also have a free PDF tutorial available for those that would like to download and save this project for a later day.
 All images © 1990-2018 Stampin’ Up!®
Don’t forget to check out my PDF Tutorial Library for more project tutorials that feature complete card collections and fancy folds. Click HERE to view the library. All the supplies can be purchased in my online store.
Supplies:
- Stamps: Rooted in Nature Bundle (148352 wood, 148353 clear)
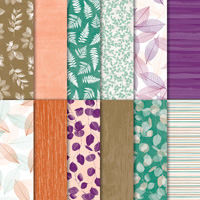
- Paper: Tranquil Tide (144246), Crumb Cake (120953), Whisper White (100730), Nature’s Poem Designer Series Paper (146338)
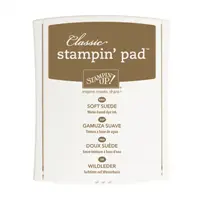
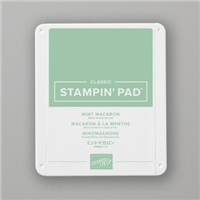
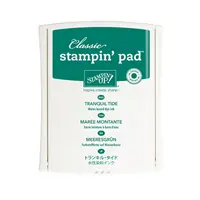
- Ink: Soft Suede (126978), Mint Macaron (147106), Tranquil Tide (144085)
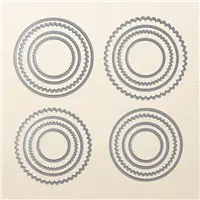
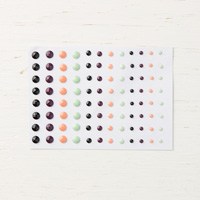
- Other: Big Shot (143263), Layering Circles Framelits (141705), Crumb Cake 3/8” Classic Weave Ribbon (144162), Nature’s Twine (146342), Leaves Trinkets (146343), Faceted Dots (146910), Stampin’ Dimensionals (104430), Mini Glue Dots (103683), Household Tape
Measurements:
- Tranquil Tide (base): 4 1/4” x 11”, scored at 5 1/2” and folded
- Soft Suede (layer): 4” x 5 1/4”
- Whisper White: 3 1/2” x 3 1/2”
- Crumb Cake: scraps to die cut circles
- Designer Paper (leaf pattern): 3 3/4” x 5”
- Designer Paper (stripe pattern): 1 ¼”
- Crumb Cake Ribbon: 7”
- Mint Macaron and Crumb Cake twine: each 3” and 7 1/2”
Instructions:
- Adhere the striped pattern designer paper to the Soft Suede layer. Adhere the leaf pattern designer paper next to it.
- Adhere the Crumb Cake ribbon to the seam along the two designer papers using Glue Dots, adhering the raw ends to the backside. Lay the Mint Macaron and Crumb Cake twines over the ribbon, adhering the raw ends to the backside using household tape. Tie the 3” pieces of twine to the lower portion of the longer twine as shown. Adhere the Soft Suede layer to the card base.
- Stamp the large and small leaves randomly, alternating between using Mint Macaron and Tranquil Tide inks on the white cardstock. Stamp off one layer of ink on scratch paper to lighten the shade. Stamp the fern image randomly using Soft Suede cardstock, stamping off one layer of ink to lighten the shade. Stamp the greeting using Tranquil Tide ink over the stamped leaves. Die cut the image using the 2 3/8” circle from the Layering Circles Framelits.
- Die cut a 2 ½” scallop circle and a 2 ¾” circle from the Layering Circles Framelits using the Crumb Cake scrap cardstock. Adhere the greeting circle to the scallop circle. Adhere these layers to the 2 ¾” circle using Dimensionals. Adhere these layers to the front of the card base using Dimensionals.
- Adhere a copper leaf trinket to the card base using Glue Dots as shown.
- Place three Mini Macaron Faceted Dots vertically in the upper left corner of the card base.
When you spend $25 in product (before tax and shipping) in my online store you’ll receive an invitation to join my “Live with Lisa” event – demonstrations, a bundle of tutorials and product prize giveaways. Place a $50 product order and you’ll receive all that PLUS a free product gift. Check out my REWARDS program by clicking the image below. Be sure to use this month’s host code found above the “shop now” button here on my blog.









Beautiful , Lisa !
So glad you like it, Rosie!
Lisa – Your cards are always so beautiful
Happy that you like it, Cheryl!
LOVE this card Lisa! So pretty and versatile.
Also love that my order arrived Friday. Very fast as I ordered late Sunday night. ?
So glad you like it, Sue! Thanks for coming by!