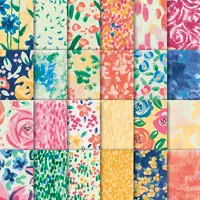
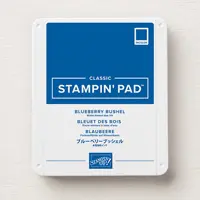
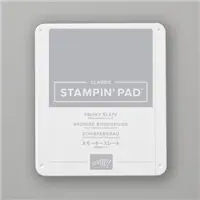
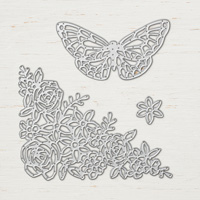
The combination of Crushed Curry and Blueberry Bushel are the striking colors that make up today’s Floral Trellis Card tutorial. The Garden Impressions Designer Paper is the perfect background for this floral trellis which uses the Springtime Impressions Thinlits.
I’ve included written instructions for today’s floral trellis card tutorial below along with an option for the free PDF tutorial download. Whether you choose to copy, print or save this tutorial, I’m certain the layout and/or the colors will inspire you.
Don’t forget to check out my PDF Tutorial Library for more project tutorials that feature complete card collections and fancy folds. Click HERE to view the library. All the supplies can be purchased in my online store. There were two new tutorials added last week!
Floral Trellis Card Tutorial
 All images © 1990-2018 Stampin’ Up!®
Supplies:
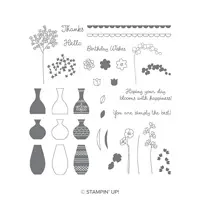
- Stamps – Varied Vases (146644)
- Paper – Whisper White (100730), Whisper White Thick (140272), Garden Impressions 6” x 6” Designer Series Paper (146289), Crushed Curry (131199), Blueberry Bushel (146968)
- Ink – Memento Tuxedo Black (132708), Blueberry Bushel (147138), Smokey Slate (147113)
- Other – Big Shot (143263), Stitched Shapes Framelit Dies (145372), Springtime Impressions Thinlits Dies (146326), Aqua Painters (103954), Stampin’ Dimensionals (104430), Multipurpose Liquid Glue (110755), Stampin’ Sponges (141337)
Measurements for Floral Trellis Card:
- Thick Whisper White (base): 4 ¼” x 11”, score at 5 ½”
- Thick Whisper White: scrap
- Designer Series Paper: 4” x 5 ¼”
- Crushed Curry (banner): 1/2” x 1”
- Blueberry Bushel (die cut): 4” x 5 ¼”
Instructions for Floral Trellis Card:
- Adhere the designer paper to the card base.
- Die cut the floral corner using the Blueberry Bushel cardstock and the Springtime Impressions Thinlits die. Use small wedge of sponge and place a small dollop of liquid glue on it. Dab glue onto the back of the die cut corner. Adhere it to the lower left corner of the designer paper.
- Die cut an oval using the Whisper white cardstock and the Stitched Shapes Framelits dies.
- Stamp the vase and flowers using Memento ink on the stitched oval. Fill the tops of the flowers using the solid coordinating image ink Blueberry Bushel ink.
- Squeeze the closed Blueberry Bushel ink pad and pick up color from inside the lid using the Aqua Painter. Add color to the bottom of the vase as shown. Repeat this process to add color under the vase using Smoky Slate ink. Adhere the oval to the center of the card base using Dimensionals.
- Stamp the greeting using Blueberry Bushel ink on the strip of Crushed Curry cardstock. Create a banner tip on the right side of the greeting using your scissors. Adhere the banner to oval as shown, placing adhesive on the left side and a Dimensional on the right side of the banner.
Designer Paper Sale
Back by popular demand! Purchase any three designer papers on the list below and select a fourth pack for FREE! This offer is valid from July 1-31 only.
The Custom Kit with Free Ink Pads
Is your wish list lengthy? The custom starter kit is the perfect way to get your choice of $125 in products for only $99 – with free shipping! During July the kit gets even sweeter! Add your choice of a color family 10-pack of ink pads for ABSOLUTELY FREE for another $67.50 savings! And, did you know that your custom starter kit allows you to shop at a 20% discount through January 31, 2019?! it sure does!
This short video has more details!
The custom starter kit is the #1 way to save on your paper crafting supplies and have even more fun HERE.(Be sure to read and scroll all the way down). This special offer is valid July 1 – 31 only!
New Color Stampin’ Blends Now Available
Twenty-two of the newest colors, are now available. You can choose to purchase them individually or as a combo pack. These alcohol-based markers provide flawless coloring and are super easy to use – whether you like to blend or not! I’ve got an entire video series showing you how to use them:
- View the Stampin’ Blends Basics video HERE
- View how to shade and mix colors using the Stampin’ Blends HERE
- View how to shade in small areas using the Stampin’ Blends HERE
- View the four uses for the Color Lifter video HERE
- View how to create custom accessories using the Stampin’ Blends video HERE
Here are the supplies used to create this card. Click on any of the images to be redirected to my online store. I offer exclusive and generous online ordering REWARDS, too!


