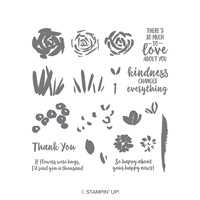
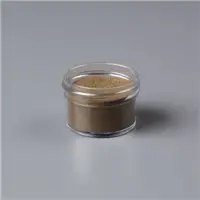
The Abstract Impressions stamp set includes beautiful two-step stamp floral images which I used to create today’s two-step stamping with heat embossing card. Instead of the typical two-step stamping using ink pads, I opted to emboss the detailed stamp layer with gold embossing powder.

The greeting needed to stand out so I chose to heat emboss it on a piece of Basic Black cardstock. Not only is the greeting not lost on this card, it plays up the floral corner beautifully!
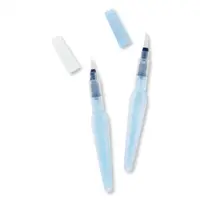
Did you notice the splatter around the greeting and roses? This technique uses your Aqua Painter to create random areas of speckled color. Apply a drop of ink refill and a few drops of water from your Aqua Painter into a container. Mix them together until the consistency is runny. Load the tip of Aqua Painter and flick color onto the cardstock by tapping the barrel of the against your finger with the opposite hand. You can aim the splatters in the areas you’d like color but it’s not entirely controllable, which I love. After all, this technique is supposed to be random. Practice the splattering on scrap cardstock before you try it on your finished card.

I also did the two-step with heat embossing technique on the leaves and the butterfly. The bold images are easy to fussy cut but keep in mind a tip I’ve continually shared. Leave a little white cardstock around the stamped edges as you cut so you don’t lose the details of your image.
Two-Step Stamping with Heat Embossing

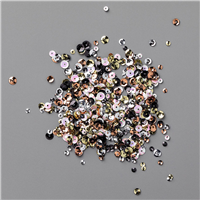
A few gold sequins from the Metallics Sequin Assortment were adhered to bring the gold shimmer throughout the rest of the card base.
This photopolymer stamp set is easy to use and align. Two-step stamping with heat embossing is both easy and elegant. If you’re not sure how to heat emboss, you can view my quick tip video HERE which will give you the basics. And don’t miss coming back on Thursday when I share a quick tip video on how to align the roses from this stamp set.
Which Stampin’ Up! stamp sets will you try this two-step stamping with heat embossing technique with? Leave me a comment!

Customize it in July and Add 10 Free Ink Pads
Is your wish list lengthy? The custom starter kit is the perfect way to get your choice of $125 in products for only $99 – with free shipping! But during July the kit gets even sweeter! Add your choice of a color family 10-pack of ink pads for ABSOLUTELY FREE! That’s another $67.50 savings! And, did you know that your custom starter kit allows you to shop at a 20% discount through January 31, 2019?! it sure does!
This short video has more details!
Get more details about why the custom starter kit is the #1 way to save on your paper crafting supplies and have even more fun HERE.(Be sure to read and scroll all the way down). This special offer is valid July 1 – 31 only!
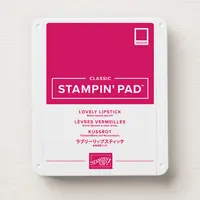
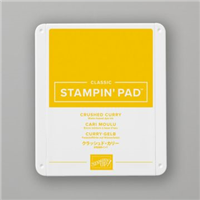
Here are the supplies I used to create my card. Click on any of the images to be redirected to my online store. I offer exclusive and generous online ordering REWARDS, too!


