Last night’s Spotlight with Lisa live Facebook event was lots of fun! I know some of you aren’t on Facebook or may have missed the live session so I’ve included the recording/video in today’s blog post – along with a free tutorial for the project I demonstrated.
In addition to the card I demonstrated I also shared a few other cards using the same stamp set (Heart Happiness) and dies (Sweet & Sassy Framelits). Both of these products are INCLUDED in January’s Studio Stamps in the Mail (SSITM) edition along with free pre-cut supplies to make 8 cards; 2 each of 4 different designs. My SSITM includes a video and a PDF tutorial making it easy for you to stamp along with me from home. Ordering for the January SSITM ends on Sunday so don’t miss the deadline. You can find ordering details and read about the basic supplies you will need HERE.
I’ve included written instructions below for the “Amazing You” card along with a free PDF tutorial if you would like to save this project for a later day. Supplies for this card are listed at the bottom of this post with picture icons. If you click on the images they will navigate you to a larger image.
Don’t forget to check out my Project PDF Tutorial Library for more project tutorials that feature complete card collections and fancy folds. Click HERE to view the library. All the supplies can be purchased in my online store. I provide generous ordering REWARDS, too! Details on my REWARDS program can be found HERE.

This card was entered in Simon Says: Add a Sentiment Challenge
 All images © 1990-2018 Stampin’ Up!®
Measurements
- Whisper White (base) – 4 ¼” x 11”, scored at 5 ½” and folded in half
- Whisper White – scrap
- Gold Foil – 2” x 4”
- Multipurpose Adhesive Sheets – 2” x 4”
- Basic Black – scrap
Directions
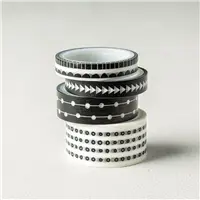
- Tear a piece of washi tape in half-length wise and adhere near the bottom of the card base as shown.
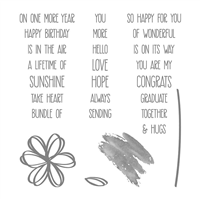
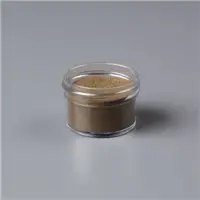
- Using white scrap cardstock, gently rub the paper using the Embossing Buddy. Stamp the heart image using VersaMark ink. Immediately cover the image using the gold embossing powder and heat set.
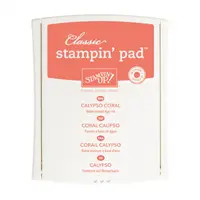
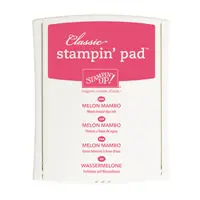
- Using the Aqua Painter, add areas of Melon Mambo and Calypso Coral ink sporadically. Squeeze the closed ink pad and open it up. Pick up ink from the inside lid of the pad. Do not over saturate the paper or it will pill. Let dry or heat set to speed up the drying process. Die cut the image using the coordinating framelit. Adhere the heart to the left side of the washi tape using Dimensionals.
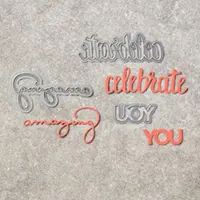
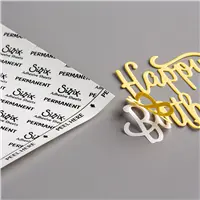
- Adhere the gold foil sheet to the adhesive sheet by releasing the paper backing on one side of the adhesive sheet. Die cut the greeting using the ‘amazing’ thinlit. Remove the paper back from the back of the die, revealing the sticky side. Adhere it across the center of the heart and card base as shown.
- Using black scrap cardstock, gently rub the paper using the Embossing Buddy. Stamp the work “you” using VersaMark ink. Immediately cover the image using the white embossing powder and heat set. Trim the cardstock to frame the word. Adhere to the card base, under the foil greeting as shown, using a Mini Dimensional.
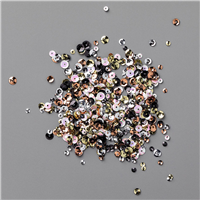
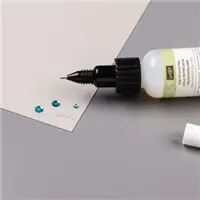
- Adhere several gold sequins as shown using Fine-Tip Glue. Let dry.
Here are the other two cards I shared that use the Heart Happiness and/or Sweet & Sassy Framelits – BOTH INCLUDED in the January edition of Studio Stamps in the Mail. Cutting Dimensions are included below.


Cutting Dimensions (click on the highlight text to see the products):
- Wild Wasabi cardstock base is cut 5 1/2″ x 8 1/2″ and folded in half
- Whisper White cardstock layer is cut 4″ x 5 1/4″
- Whisper White banner for the greeting is cut 3/4″ x 3″ and uses the Lovely Friends stamp set which was heat embossed with Silver Embossing Powder.
- The clover is stamped and die cut – BOTH the Heart Happiness stamp set and the Sweet & Sassy Framelits are INCLUDED in January’s Studio Stamps in the Mail
- The stem was created from the outside edge of largest the heart shaped dies


Cutting Dimensions (click on the highlight text to see the products):
- Whisper White cardstock base is cut 5 1/2″ x 8 1/2″ and folded in half
- The Powder Pink cardstock layer is cut 4″ x 5 1/2″ and embossed using the Polka Dot Basics Embossing Folder
- Vellum cardstock strip is cut 1/2″ x 5 1/2″ and stamped in Basic Gray Archival Ink. The greeting is from Teeny Tiny Wishes.
- The ears were created using the Layering Ovals Framelits
- The bow was created using the Bow Builder Punch
- The nose was created using the 1/2″ Circle Punch
- The face was created using the Sweet & Sassy Framelits – included in January’s Studio Stamps in the Mail edition!
- The whiskers were drawn on using the Basic Black Stampin’ Write Marker.

January Studio Stamps in the Mail Ordering
Stamp with me from home with this month’s edition of Studio Stamps in the Mail (SSITM). This month I’m including two fabulous products you’ll use all year long – the Heart Happiness stamp set and the Sweet & Sassy Framelits. I’ll include FREE pre-cut supplies, envelopes, embellishments, a video and PDF tutorial making it easy enough for a beginning to create! PLUS, you’ll select a FREE Sale-A-Bration product with this month’s SSITM order. Ordering ends on Sunday, January 21st. Watch a short introduction video to see the cards and supplies included HERE.












Hi Lisa
Wonder if you remember me from the Med Cruise? Have been following your site & videos. Really love both. You do a great job!
Best regards from Germany
Maxie
I absolutely remember you, Maxie! I’m so glad you’re following my blog! Thank you for the kind words and encouragement.
Lisa,
That is a amazing card. I missed the FB live but watch it later…….
All your card are amazing anyway..
I’m so glad you like the card, Sharon. It looks rather detailed but it’s quite easy – just a few steps. Hopefully the video will help with a few tips, too. Thanks for the kind words!
hi Lisa … didn’t get to watch you live but just finished watching your video! Luv the cards! My favorite, in case you want to know (lol) is the heart card!
Hi Bonnie! I’m so glad you came by to watch the recording. So glad you liked the cards. Thanks for coming by!