Can you believe it’s the 4th week of January already? There are only 9 days left in this month and 23 days until Valentine’s Day.
Many couples get engaged on Valentine’s Day and I was no exception. Bob the Builder had made reservations at a quaint Italian restaurant – that’s a feat in itself on Valentine’s Day! Honestly, I didn’t want to go. I had a horrible head cold and I just wanted to stay home – with my pj’s on – with a hot bowl of soup. He sounded horribly disappointed when I asked for a ‘rain check’ so I got dressed and made myself as presentable as possible. He proposed right after we ordered our meal! That was the best ‘sick day’ ever!
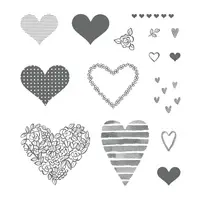
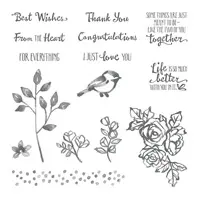
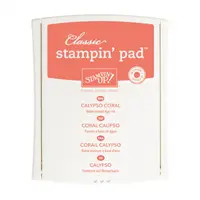
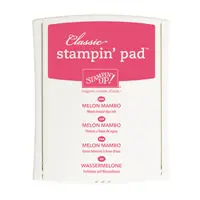
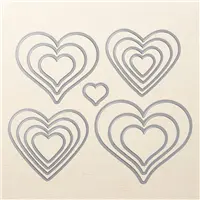
Today’s video features the Heart Happiness stamp set. (Those that ordered January’s Studio Stamps in the Mail are receiving it in their packet this month. Yeah you – another idea!) I paired the stamp set with the coordinating Painted with Love Designer Paper (page 19). I found the bright colors and foil accents irresistible! Today’s video is packed with tips. I’ll teach you how to easily align pre-cut designer paper panels (anyone else have trouble getting them straight?), how to use Sponge Daubers to create variegated colors and finally, don’t miss the tip about stacking Dimensionals.
I’ve included cutting dimensions, pictures and supplies below. Be sure to scroll down to see them.
If you’re drawn to this stamp set as much as I am, then you won’t want to miss my Project PDF Tutorial that features a collection of 4 different cards. Click on the image below to take a peek.


Cutting Dimensions
- Rich Razzleberry cardstock base is cut 5 1/2″ x 8 1/2″
- Rich Razzleberry cardstock layer for the greeting is cut 2 1/8″ x 2 1/8″
- Whisper White cardstock layer is cut 3 3/4″ x 5″
- Whisper White cardstock panel (for the designer paper strips) is cut 3 1/2″ x 4 3/4″
- Whisper White cardstock for greeting is cut 2″ x 2″
- Designer Paper strips are each cut 1 1/2″ x 4 3/4″










Love, love this card…A Grand Slam Home Run ❤️
I’m so glad you like it, Kathy! This designer paper is amazing!
Beautiful card…both ways, with & without the thread!
So glad you like – both versions! Thanks for commenting, Bonnie. I love to read feedback!
Love this card. The colors are so elegant. The tip about the strips is such a great idea. Will have to try it and also the heart, using a sponge dauber to give it a “marbled” look that almost looks like the dsp!
Hi Kimberly! I’m so glad you enjoyed the project. This designer paper is variegated as a whole in the 12″x12″ sheet. I wanted the colors closer together so I opted to cut it. The panels I cut are an easy size for any paper crafter to measure. They are larger than you’ll need but it makes mounting and trimming so easy! Thanks for coming by to comment.
I tried to make this card. My strips are to wide. They don’t fit o0n the paper that is 3and 1 half by4 and three quarters.
Help!
Hi Noreene! The card I created here uses designer paper. The stripes you see are not stamped. Perhaps that’s the issue? If you’d like, you can email me a picture and I can try and help you further. [email protected]