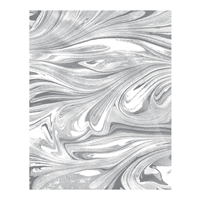
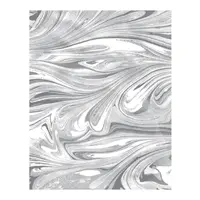
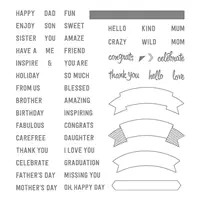
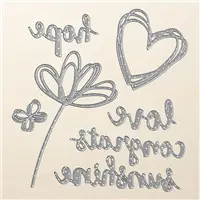
I’ve recently received numerous announcements for graduations and a military retirement which means I needed to create some congratulations cards. I knew I wanted to use the congrats text from the Sunshine Wishes Thinlits and the Marbled background stamp but “how” was the challenge. After stamping the background I thought of cutting up the image into panels for a unique layout.

I used four different colors to create this varied marbled background. Be sure to use a separate sponge dauber for each color so you don’t muddy up your ink pads or the image. I’ve listed the colors below in the color challenge so you can give them a try. Dabbing on each color individually took a bit of time but the results are a beautiful array of colors that blend well with one another.

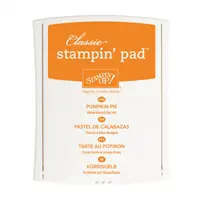
I die cut the “congrats” once in Very Vanilla cardstock and then again in Pumpkin Pie cardstock. I used the Multipurpose Adhesive Sheets making adhering them together, and to the layer, so easy! You’ll notice I offset the Very Vanilla layer just slightly which gives a great 3D look to the script.
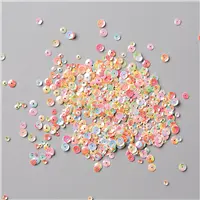
I created a small banner to add additional text from the Thoughtful Banners stamp set. And what’s a card without a little bling? I picked out a few of the coordinating sequins from the Iridescent Sequin Assortment. This assortment is fabulous since it has such an array of colors!

Here’s your color challenge for this week!
Last Chance Products!

These 17 colors are retiring on May 31st but they may not last that long! Grab your favorites along with ink refills, cardstock and coordinating accessories WHILE SUPPLIES LAST! CLICK HERE to view all the retiring products. Stamp sets will be available through May 25th.
Studio Stamps in the Mail Begins Tomorrow!
Studio Stamps in the Mail (SSITM) is a way for you to stamp with me from home. There is NO monthly obligation and this is not a club. Each month I provide FREE pre-cut supplies to make 8 cards; 2 each of 4 different designs, a video and PDF tutorial making it easy for you to stamp along with me and allowing you to work at your own pace. PLUS, this month’s edition includes a BONUS TUTORIAL! You can find details about this month’s kit, ordering, FAQ’s and customer testimonies by clicking on the image below.

Join me LIVE on Thursday!
Plan to join me on Thursday, April 12th at 8PM EST – 5PM PST – 6PM MST – 7PM CST for a LIVE Facebook demonstration I call “Spotlight with Lisa“. During this event I will share a new project idea, lots of tips and interactive fun. It’s FREE so invite a friend to join you.

Click HERE or on the picture below to like and follow my Facebook page so you don’t miss the reminders and notifications. Follow the steps below if you’re viewing from a desk top computer.

If you are viewing from a mobile device (iPhone or iPad) here are the steps to change your preferences:
- Open the Facebook app
- Scroll down to “settings”
- Click on “settings”
- Click on “news feed preferences”
- There will be a star titled “prioritize who to see first” – click on this
- Scroll until you see “Lisa’s Stamp Studio” and make sure there is a star next to my picture. If there is not a star simply click on the picture. A star will be placed alongside the picture. Click “done”.
- Click “done” again
- Return to Facebook


I have the Marbled background stamp and to date I haven’t used it. I did not purchase it I won it at a crafting class so I keep wondering whether that is the reason I haven’t used it yet. I wanted to find a design with it in that I could not resist. Lisa I love what you have done with the design on this card so perhaps that is what I should do. Stamp the Marbled background stamp and then divide this into four pieces for the design on my card along with a stamped or die cut image depending on the theme of the card and the recipient. Thank you Lisa for making me feel a lot better about this marbled background stamp. :O)